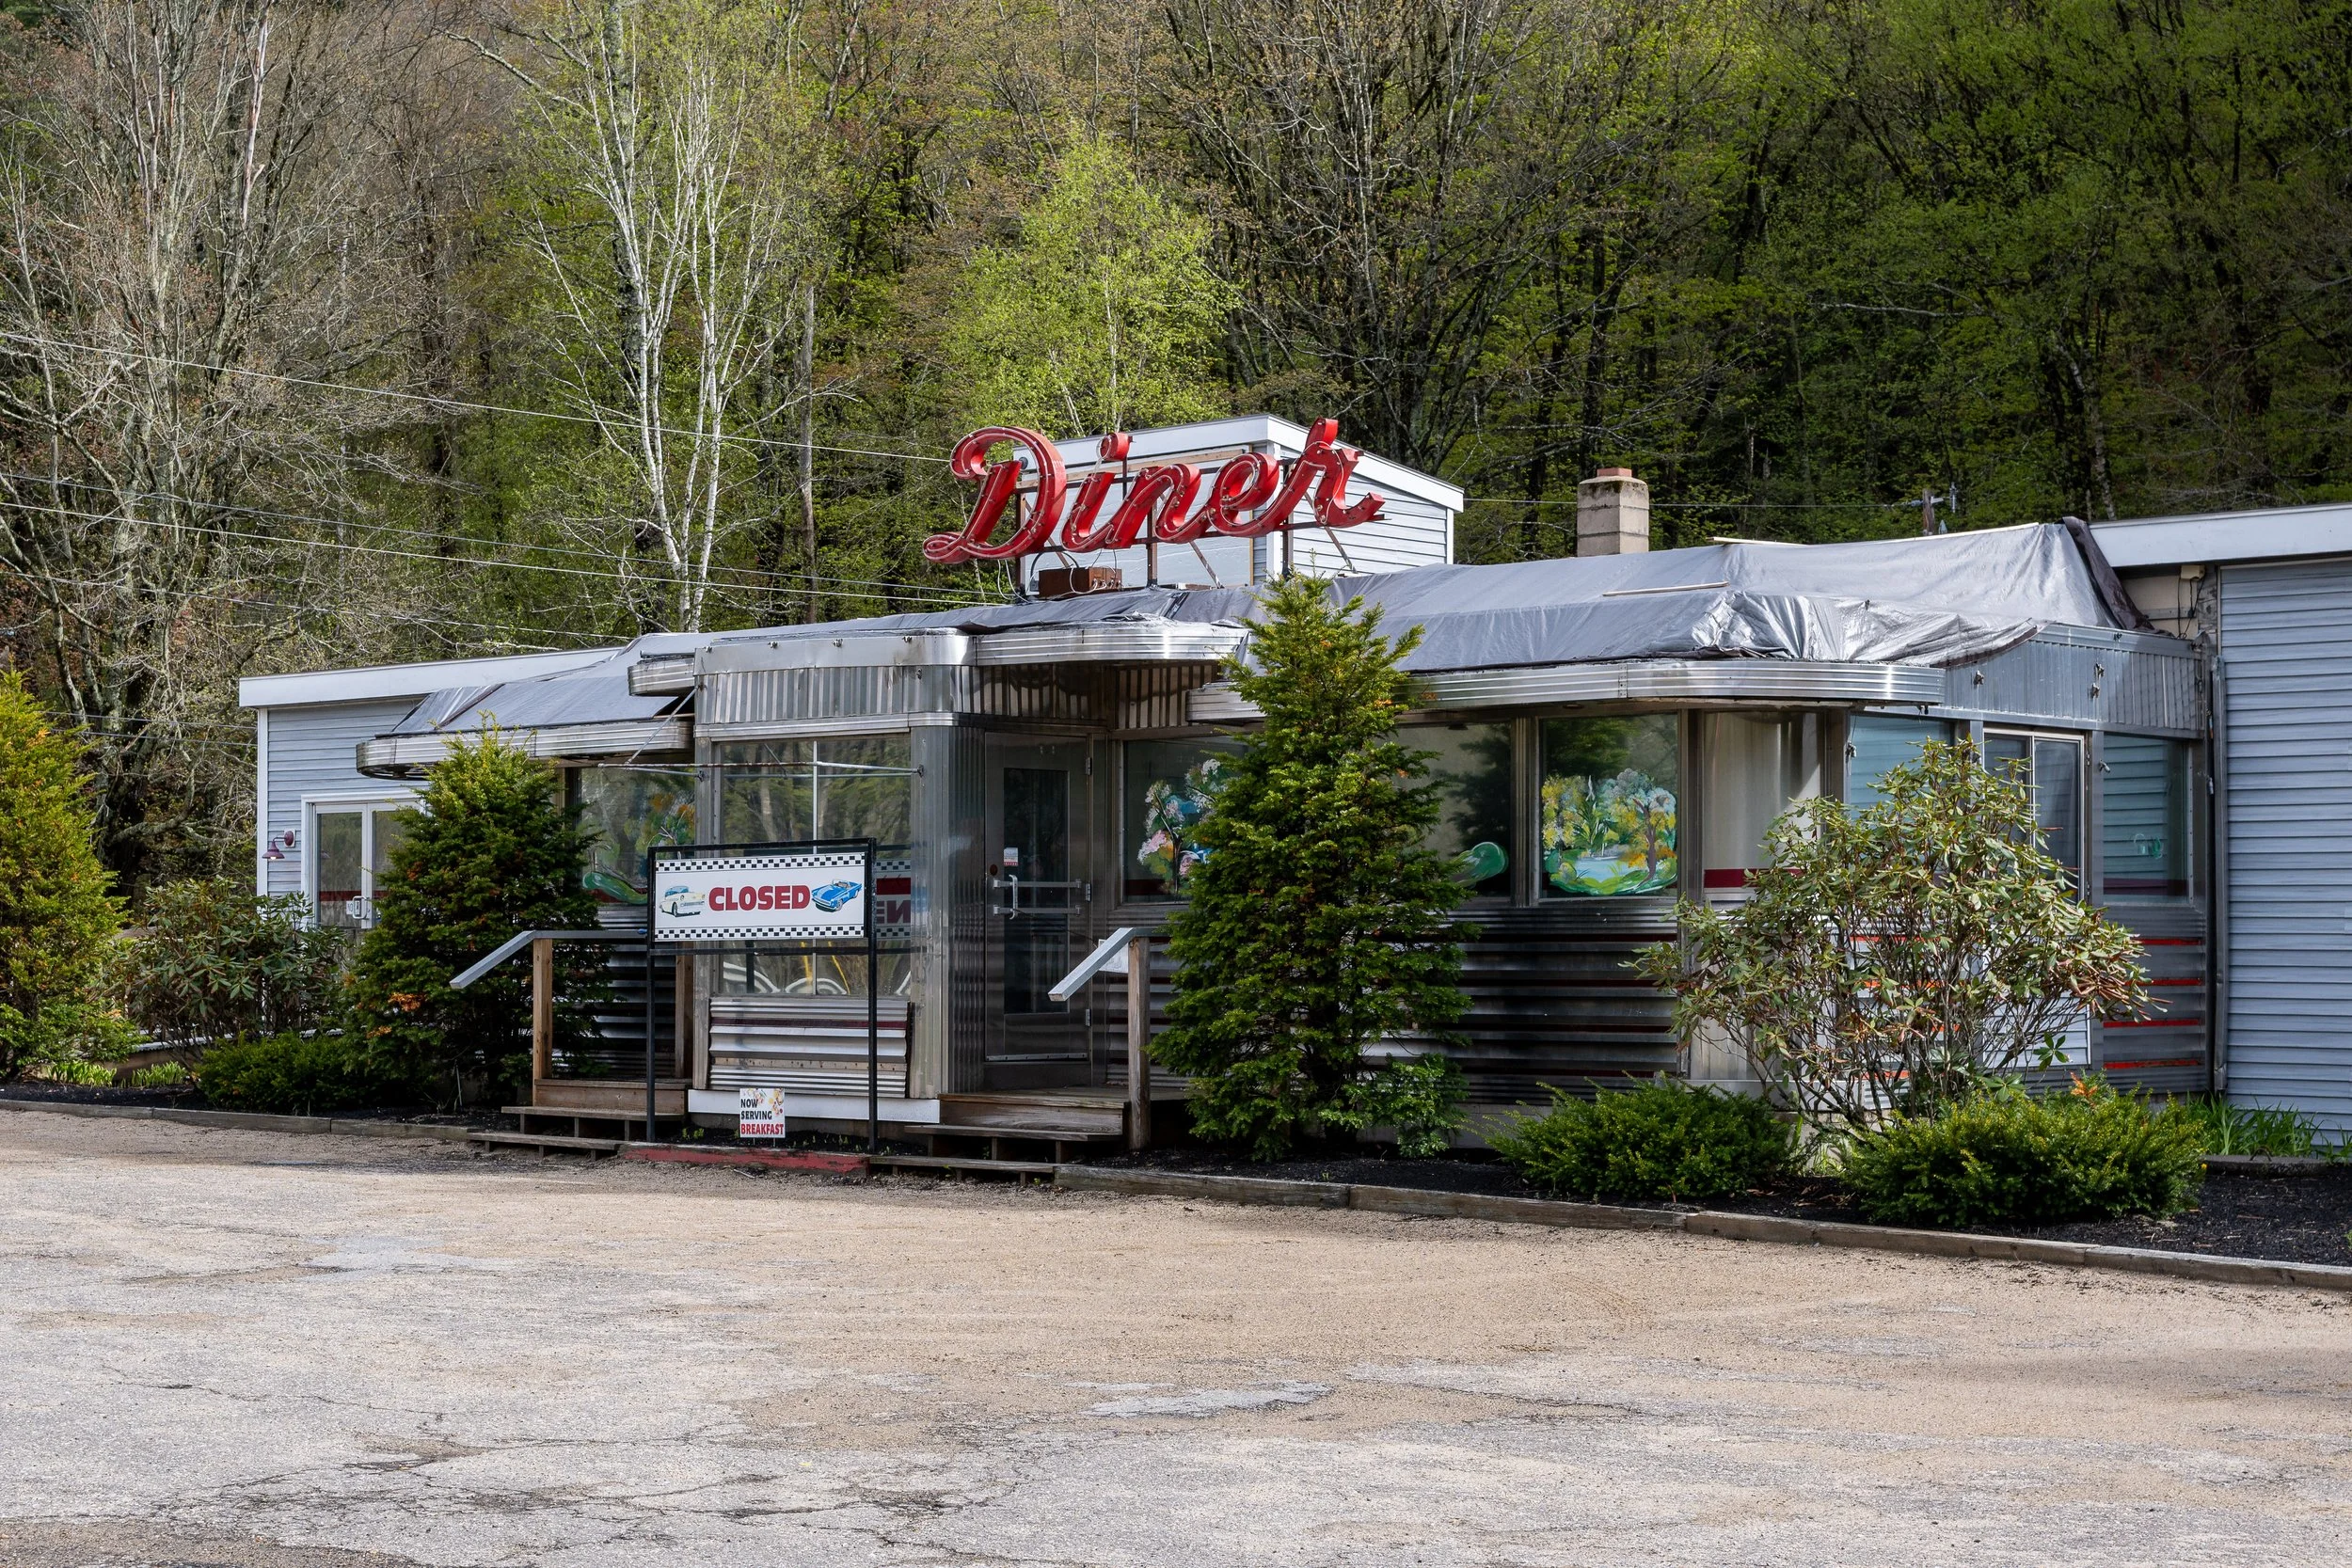
The fact that I grew up in the land of 24-hour diners (better known as the state of New Jersey) probably explains why I have such a soft spot for the architecture and history of the ubiquitous chrome-plated structures. I’m not the type of person who can really enjoy an extravagant meal at a fancy restaurant, so the fare offered by a diner is exactly my speed. I’m of the opinion that you can judge the quality of a diner solely by how they make a simple BLT - if the toast is too soft or the bacon too floppy, I’d be hesitant to try anything else on the menu.
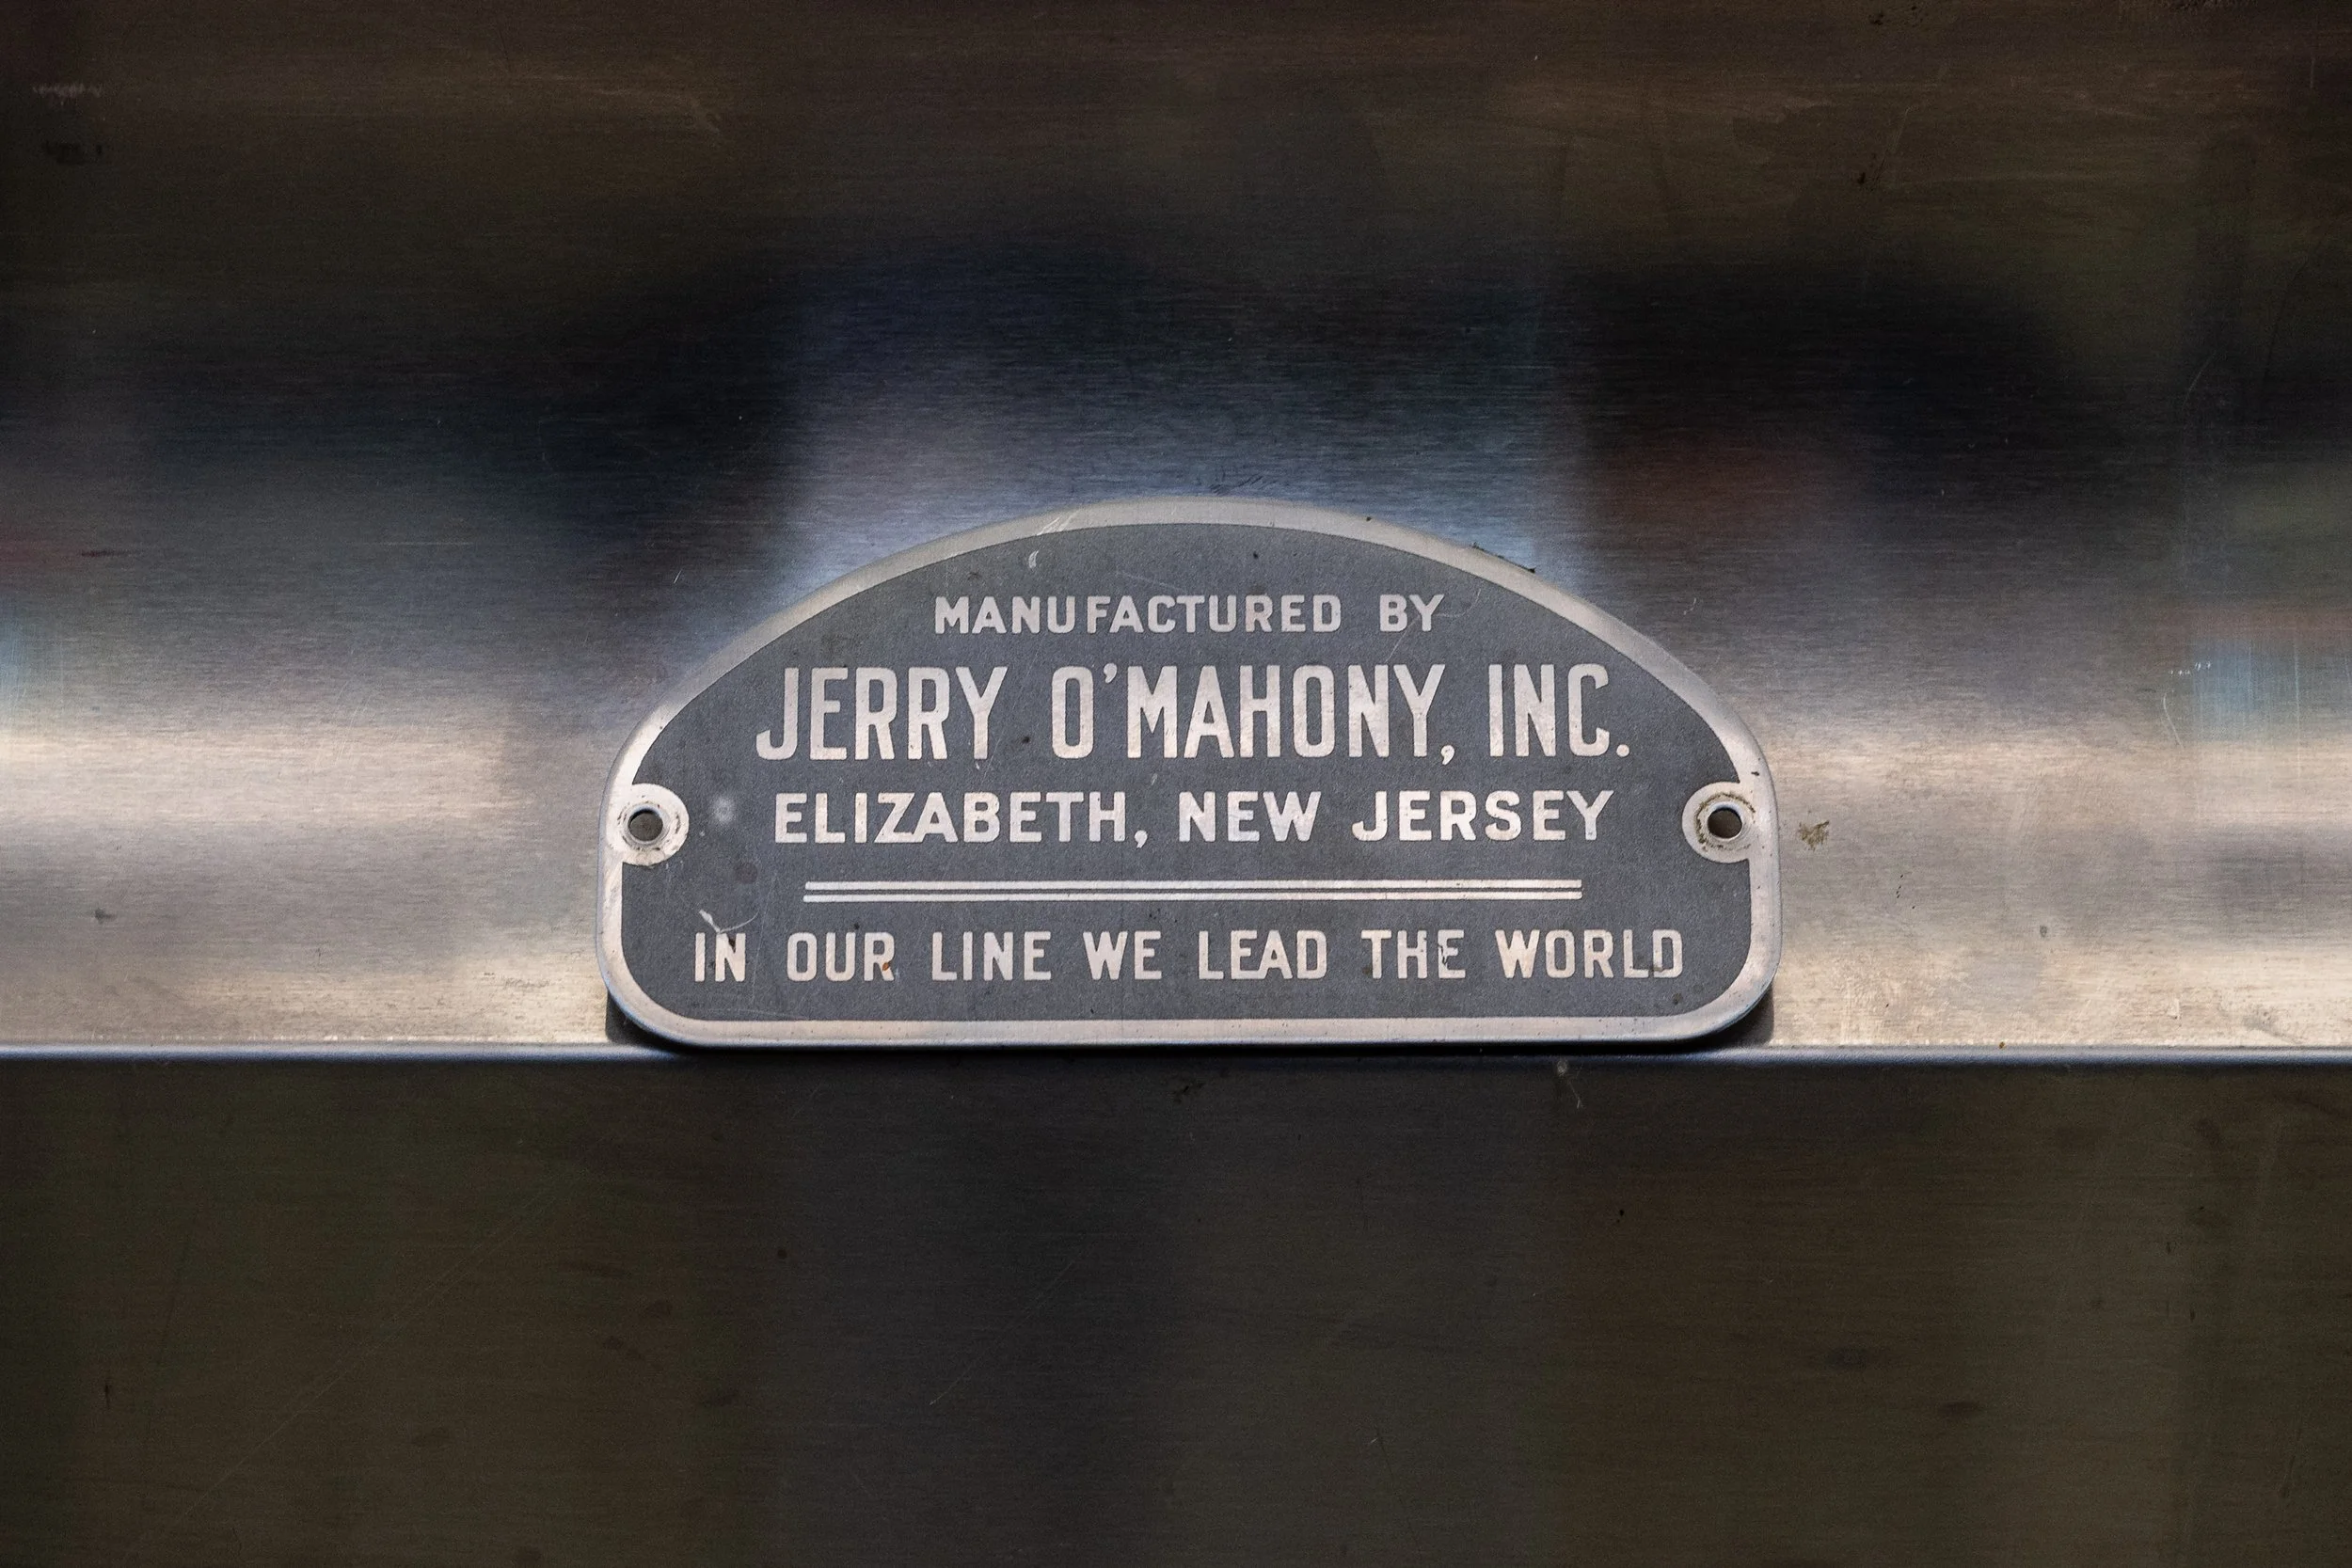
As a photographer with an eye for history hiding in plain sight, I always look around the diners I visit for the builder’s plaque that shows where the structure was manufactured. The North Station Diner, near the family cabin in Rumney, New Hampshire and a place I frequent in the summers, was built in Elizabeth, NJ by the Jerry O’Mahony Company circa 1954. Jerry O’Mahony, from Bayonne, NJ, bought his first horse-drawn lunch cart in 1910. He saw promise and profitability in the future of modern diners, and set out to build the Pullman of lunch carts. He founded the Jerry O’Mahony Company in 1913 and sold his first lunch cart for $1,900 (worth $75,000 today) and retired from the business in 1950.
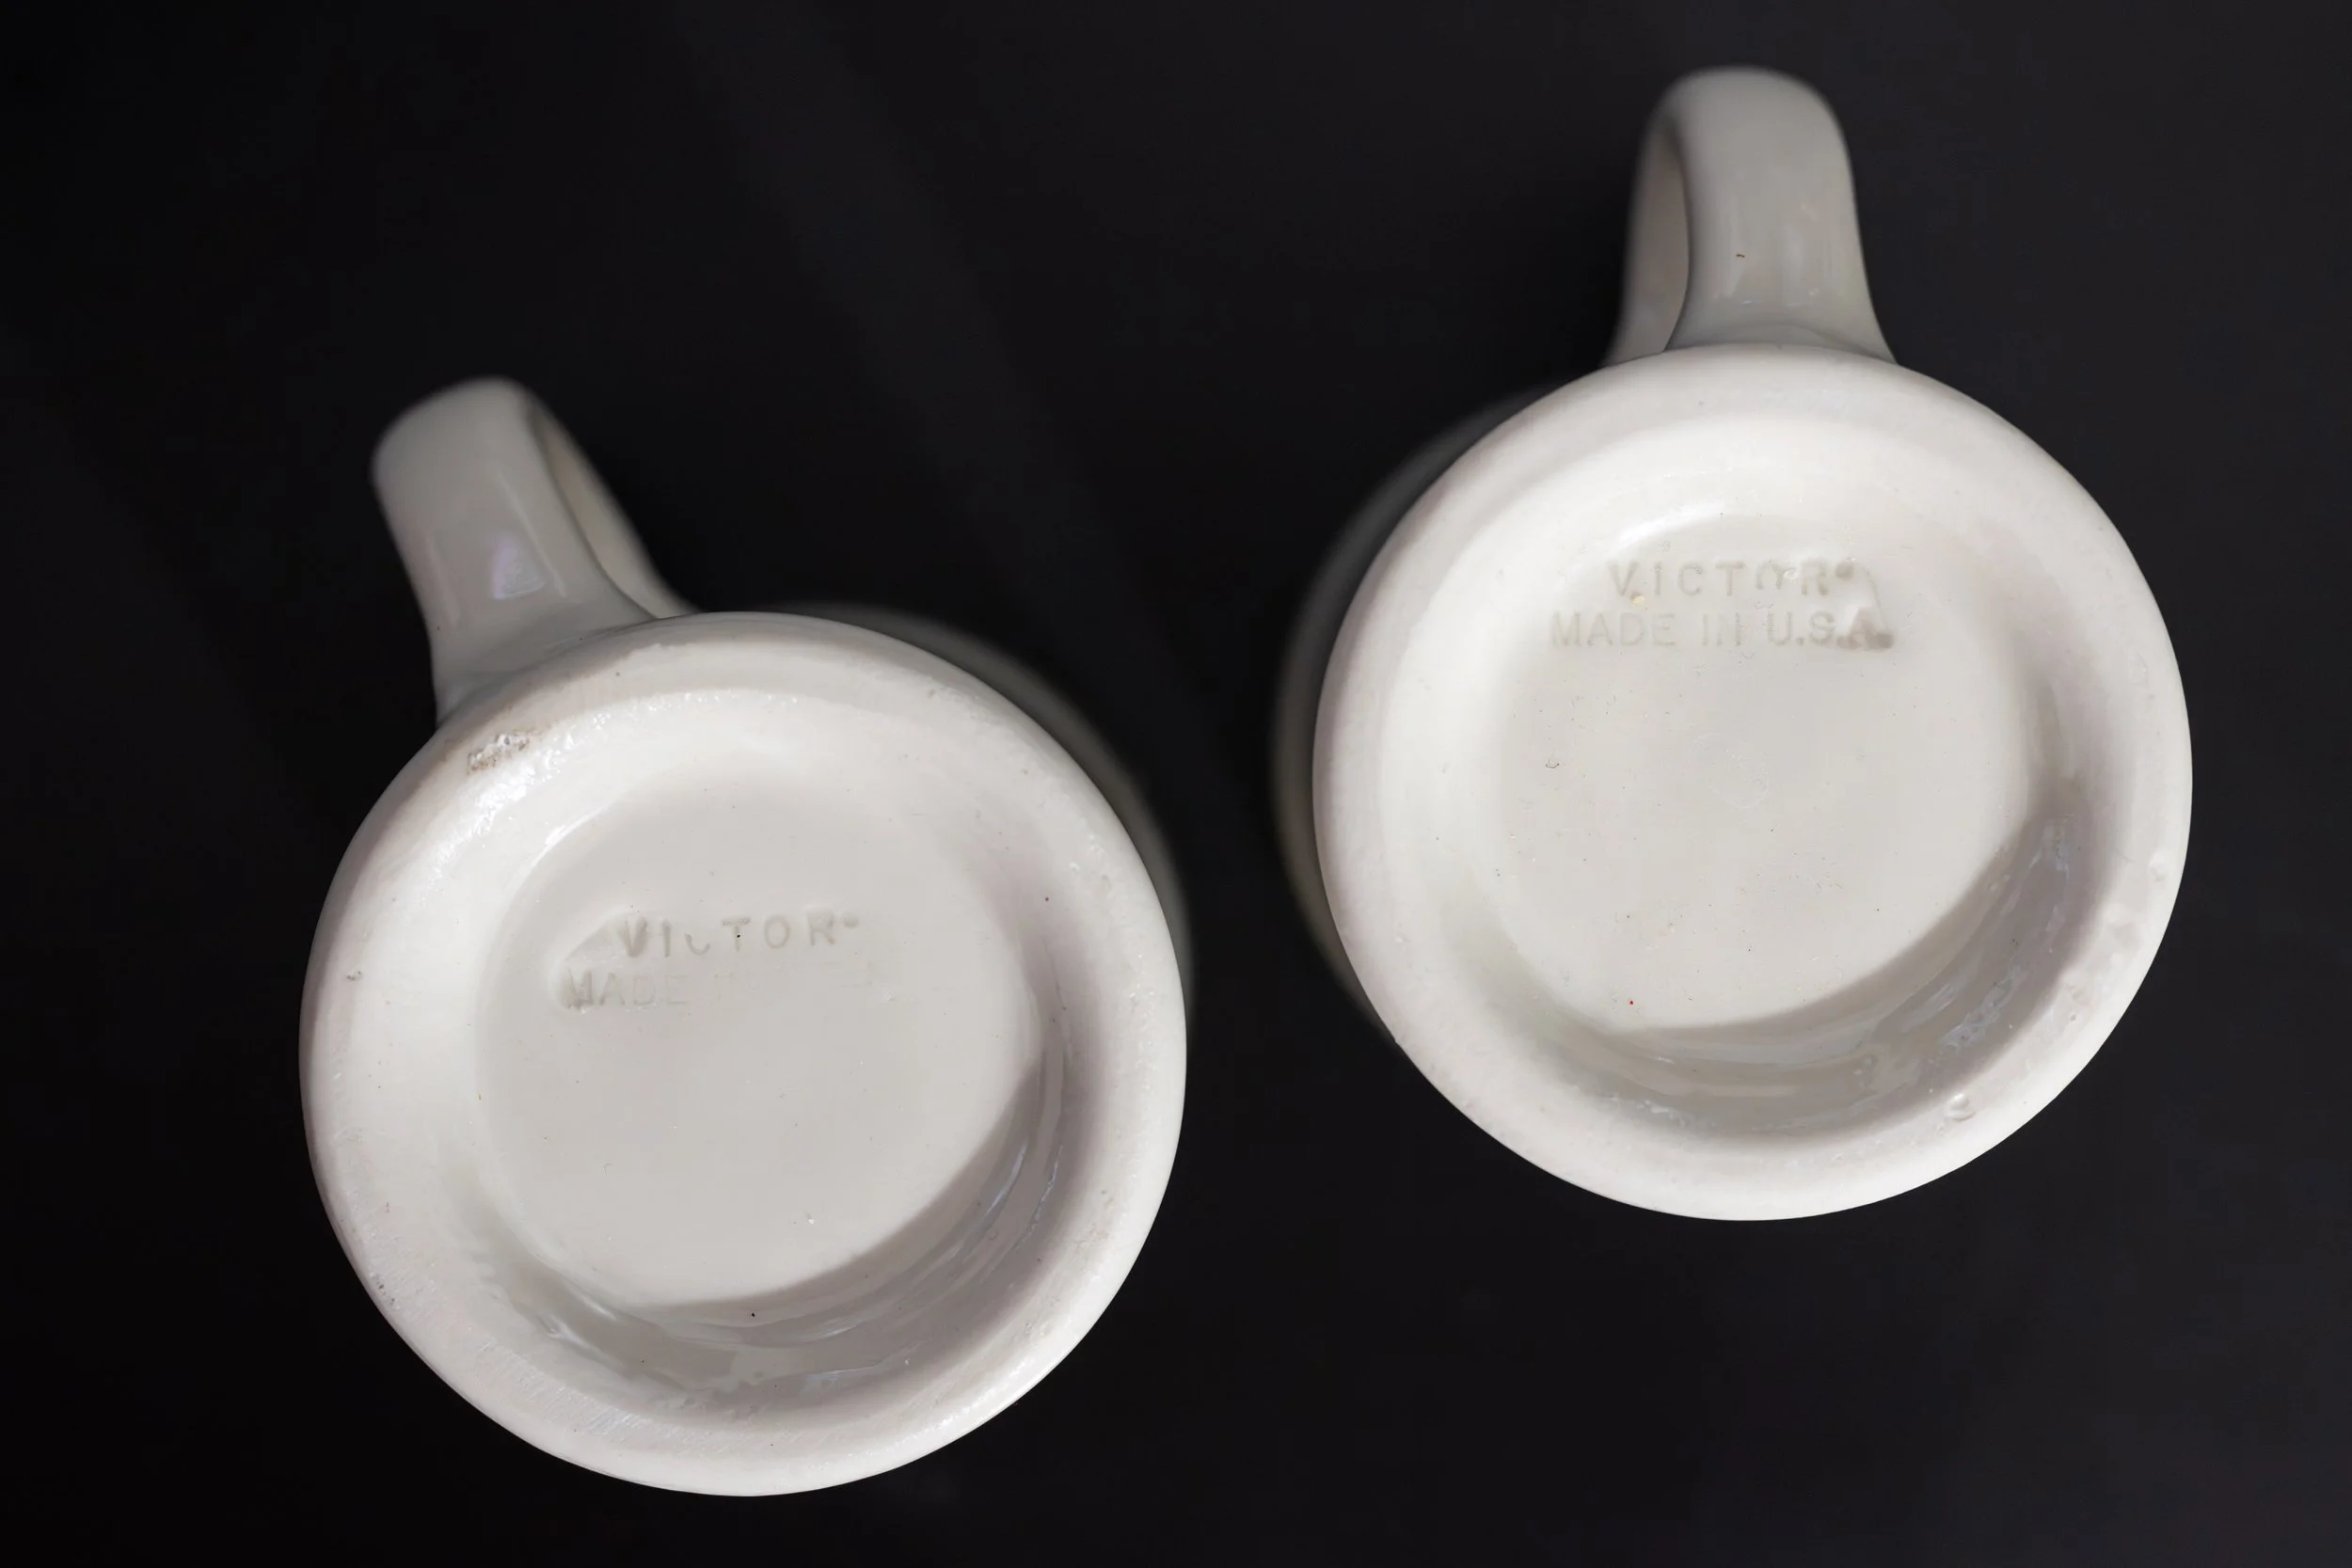
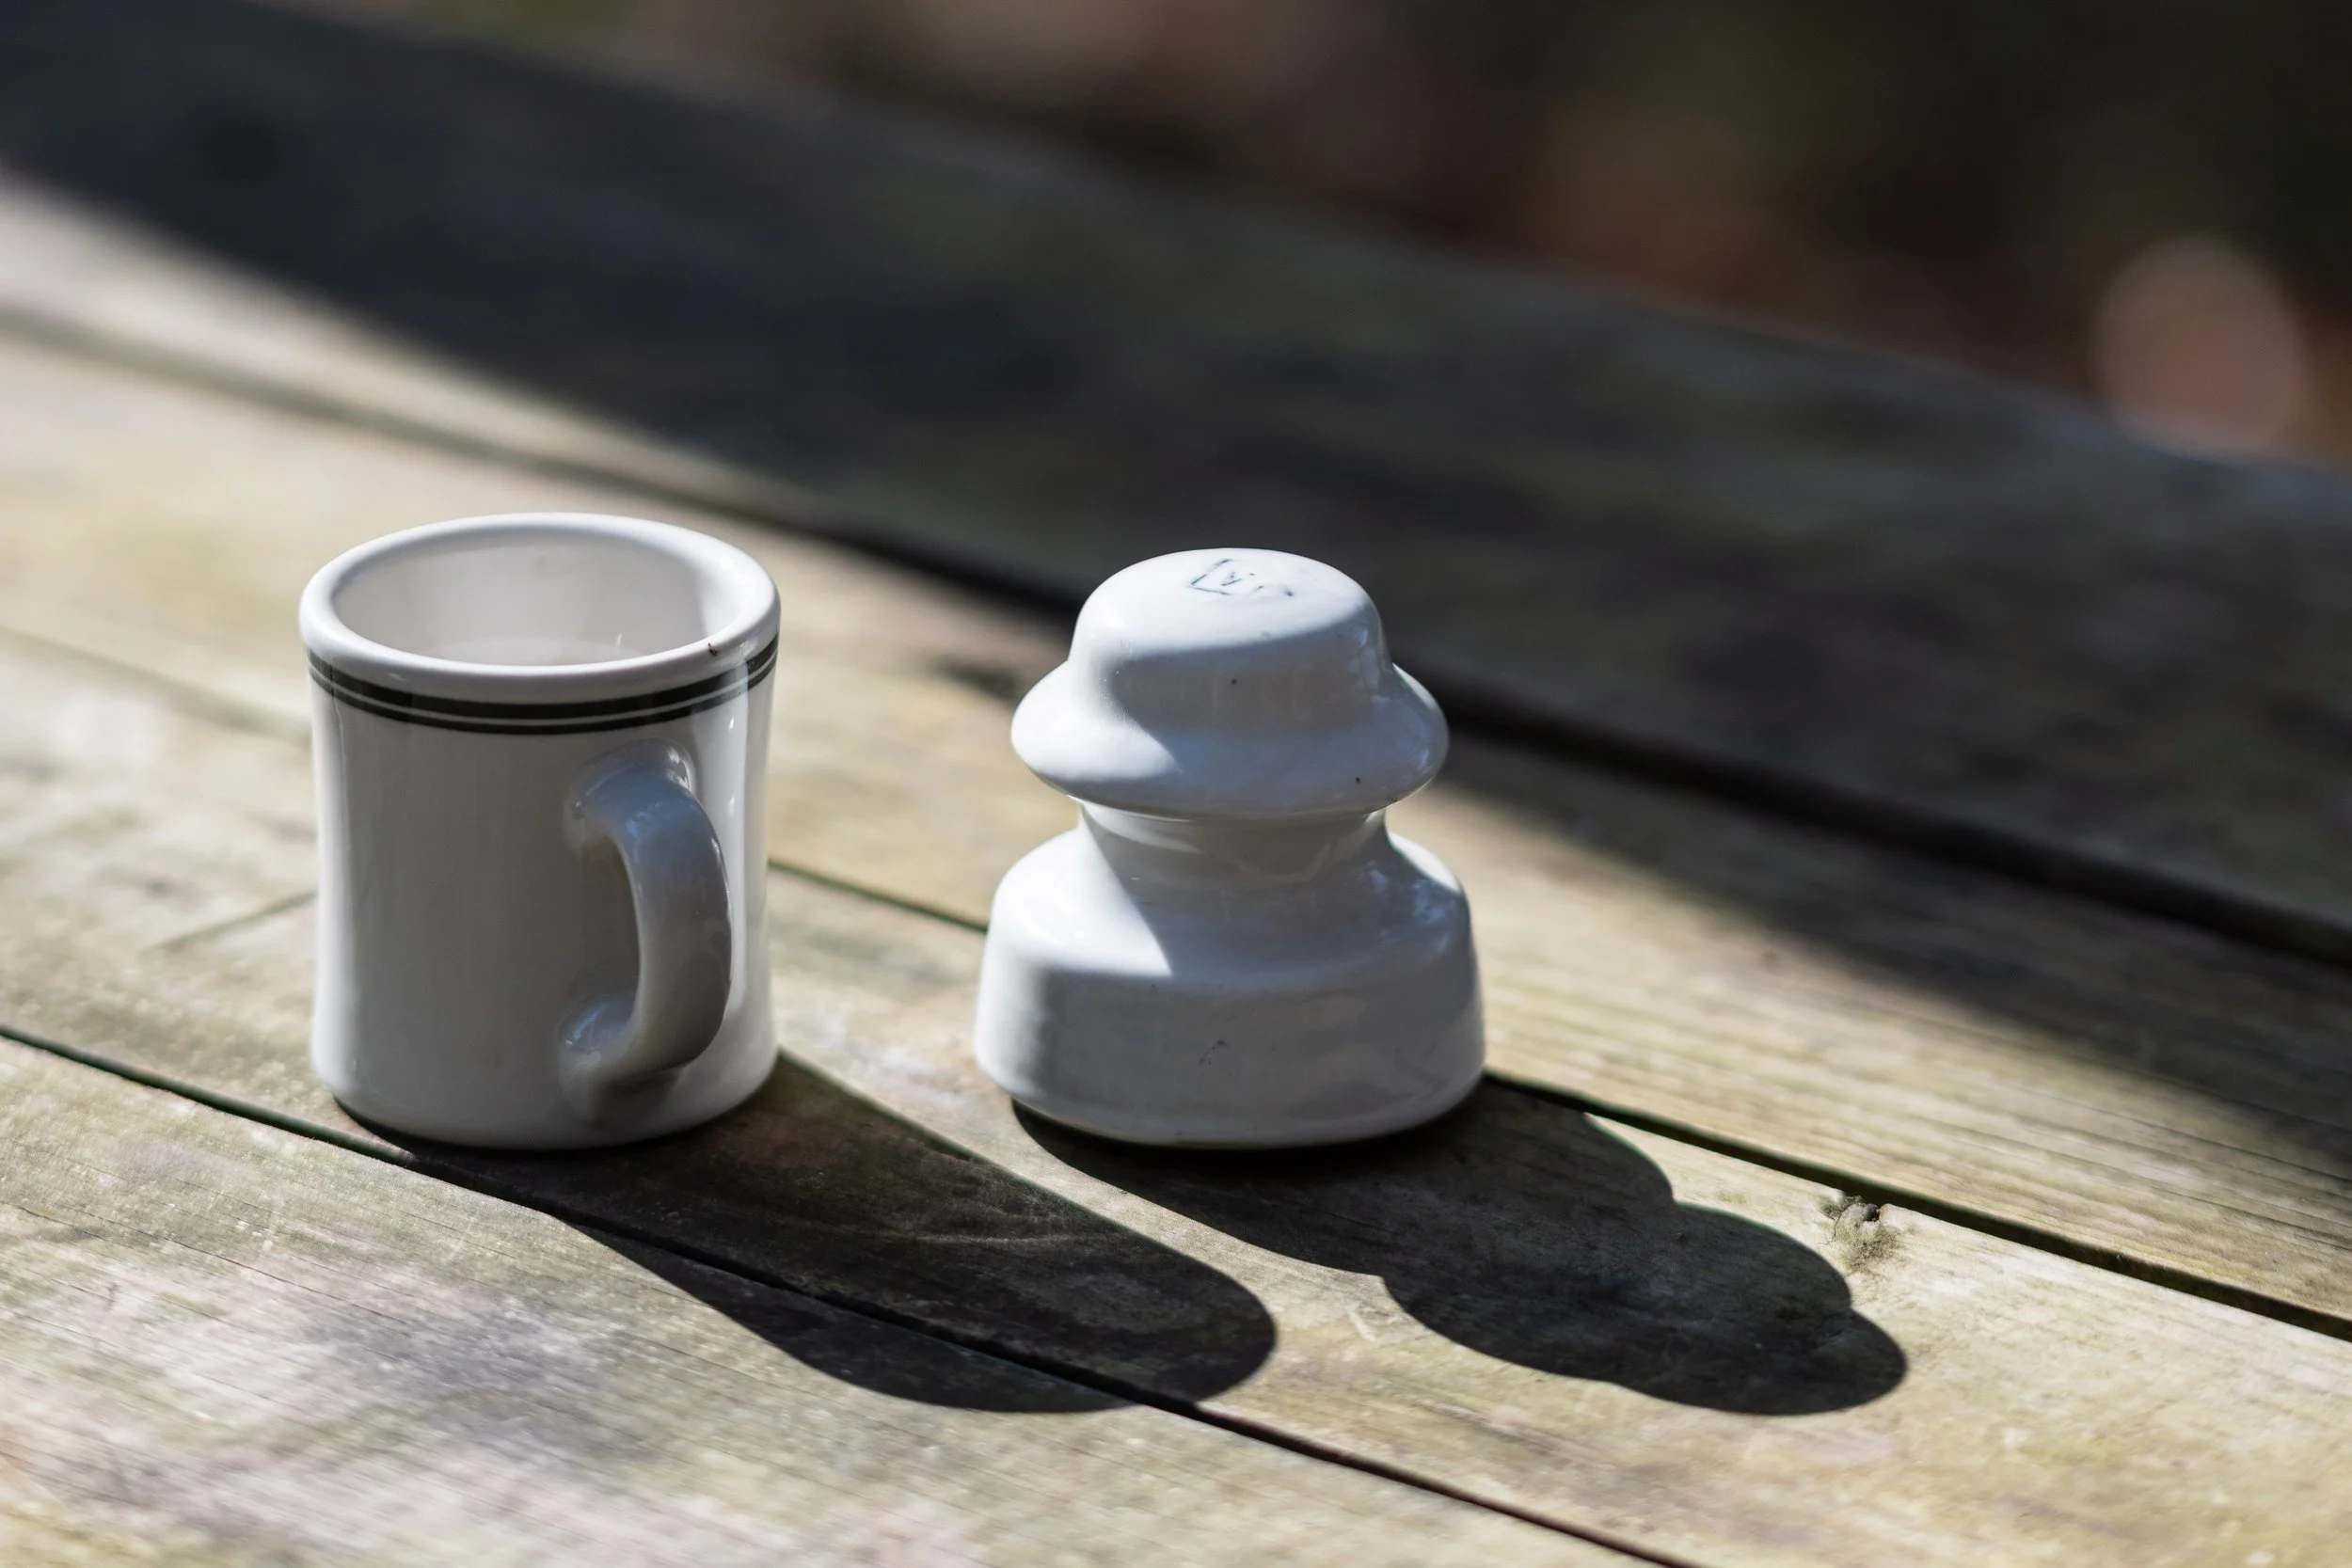
I’m not sure exactly when I first learned about the hidden history behind these iconic white porcelain mugs that once dotted the countertops of diners nationwide, but my interest in them was reignited when I found a set of new-old-stock Victor mugs with the signature “VICTOR, MADE IN U.S.A.” stamped on the bottom at a flea market near Geneva, NY. I’d spent years looking for a single mug, and I now had a matching set of four! With my newfound mugs in hand and a Victor ceramic insulator courtesy of eBay, I loaded up my camera and made the drive to Victor, NY for this blog post to see the Victor Insulators, Inc factory.
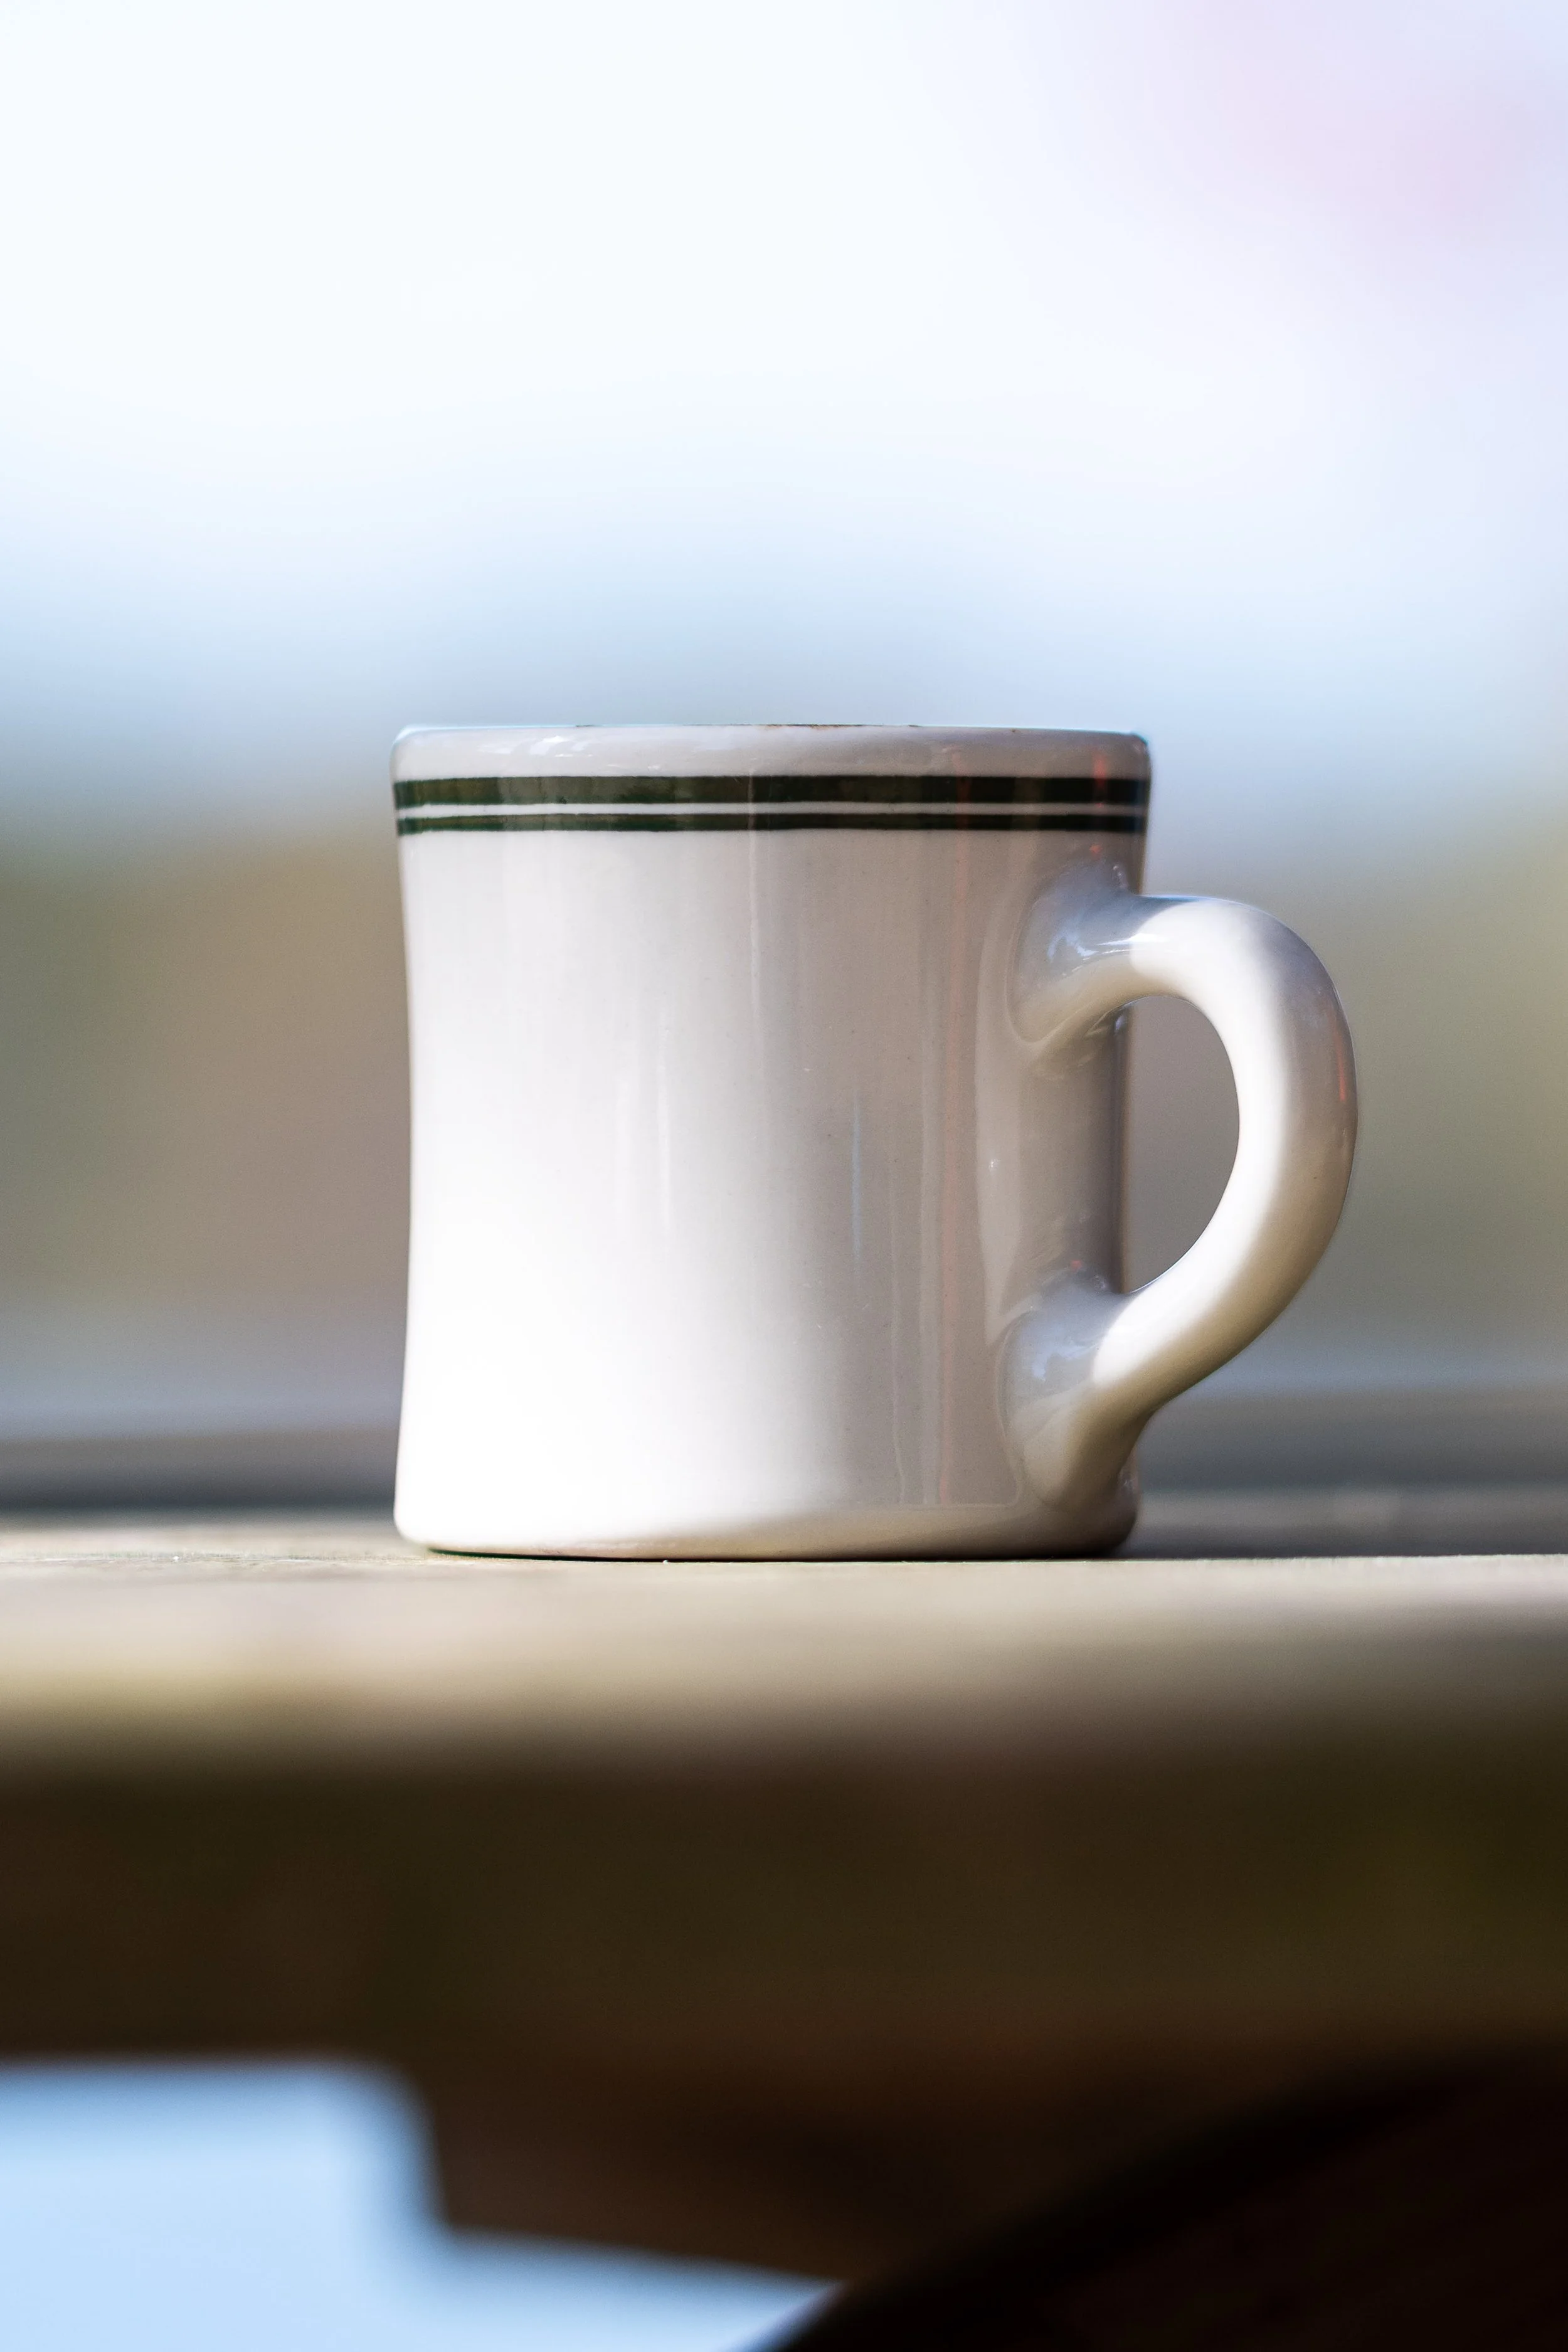
Victor Insulators, Inc. is the oldest electrical insulator manufacturer in North America and still manufactures its products in the factory that Fred M. Locke, founder of Locke Insulator Manufacturing Company, built in 1883. Victor didn’t start manufacturing mugs until WWII, when the company won a bid to design and produce durable chinaware for the US Navy that could stand up to the rigors of life on the open ocean - something that wouldn’t slide across the table in rough seas or shatter when it hit the steel deck of a battleship. Turns out the same techniques used to craft porcelain insulators for high-voltage power lines make for one amazingly strong coffee cup! After the war, the same tough construction that made Victor’s mugs the go-to for Navy ships also endeared them to diners across the country. The mugs could be bashed around, dropped on the floor by busboys, run through industrial dishwashers, and still serve cup after cup of drip coffee brewed straight from a Bunn-O-Matic coffee machine.
As with most things “Made in U.S.A.” during the 1980s, international competition and a race to the bottom drove Victor to cease manufacturing of its mugs in 1987. You can tell a genuine Victor mug by variations of the word “VICTOR” stamped into its base. I love these mugs, which exist at the intersection of American manufacturing, WWII history, and diner lore. And at 6 oz., they’re the perfect size for a strong hot chocolate or instant coffee.
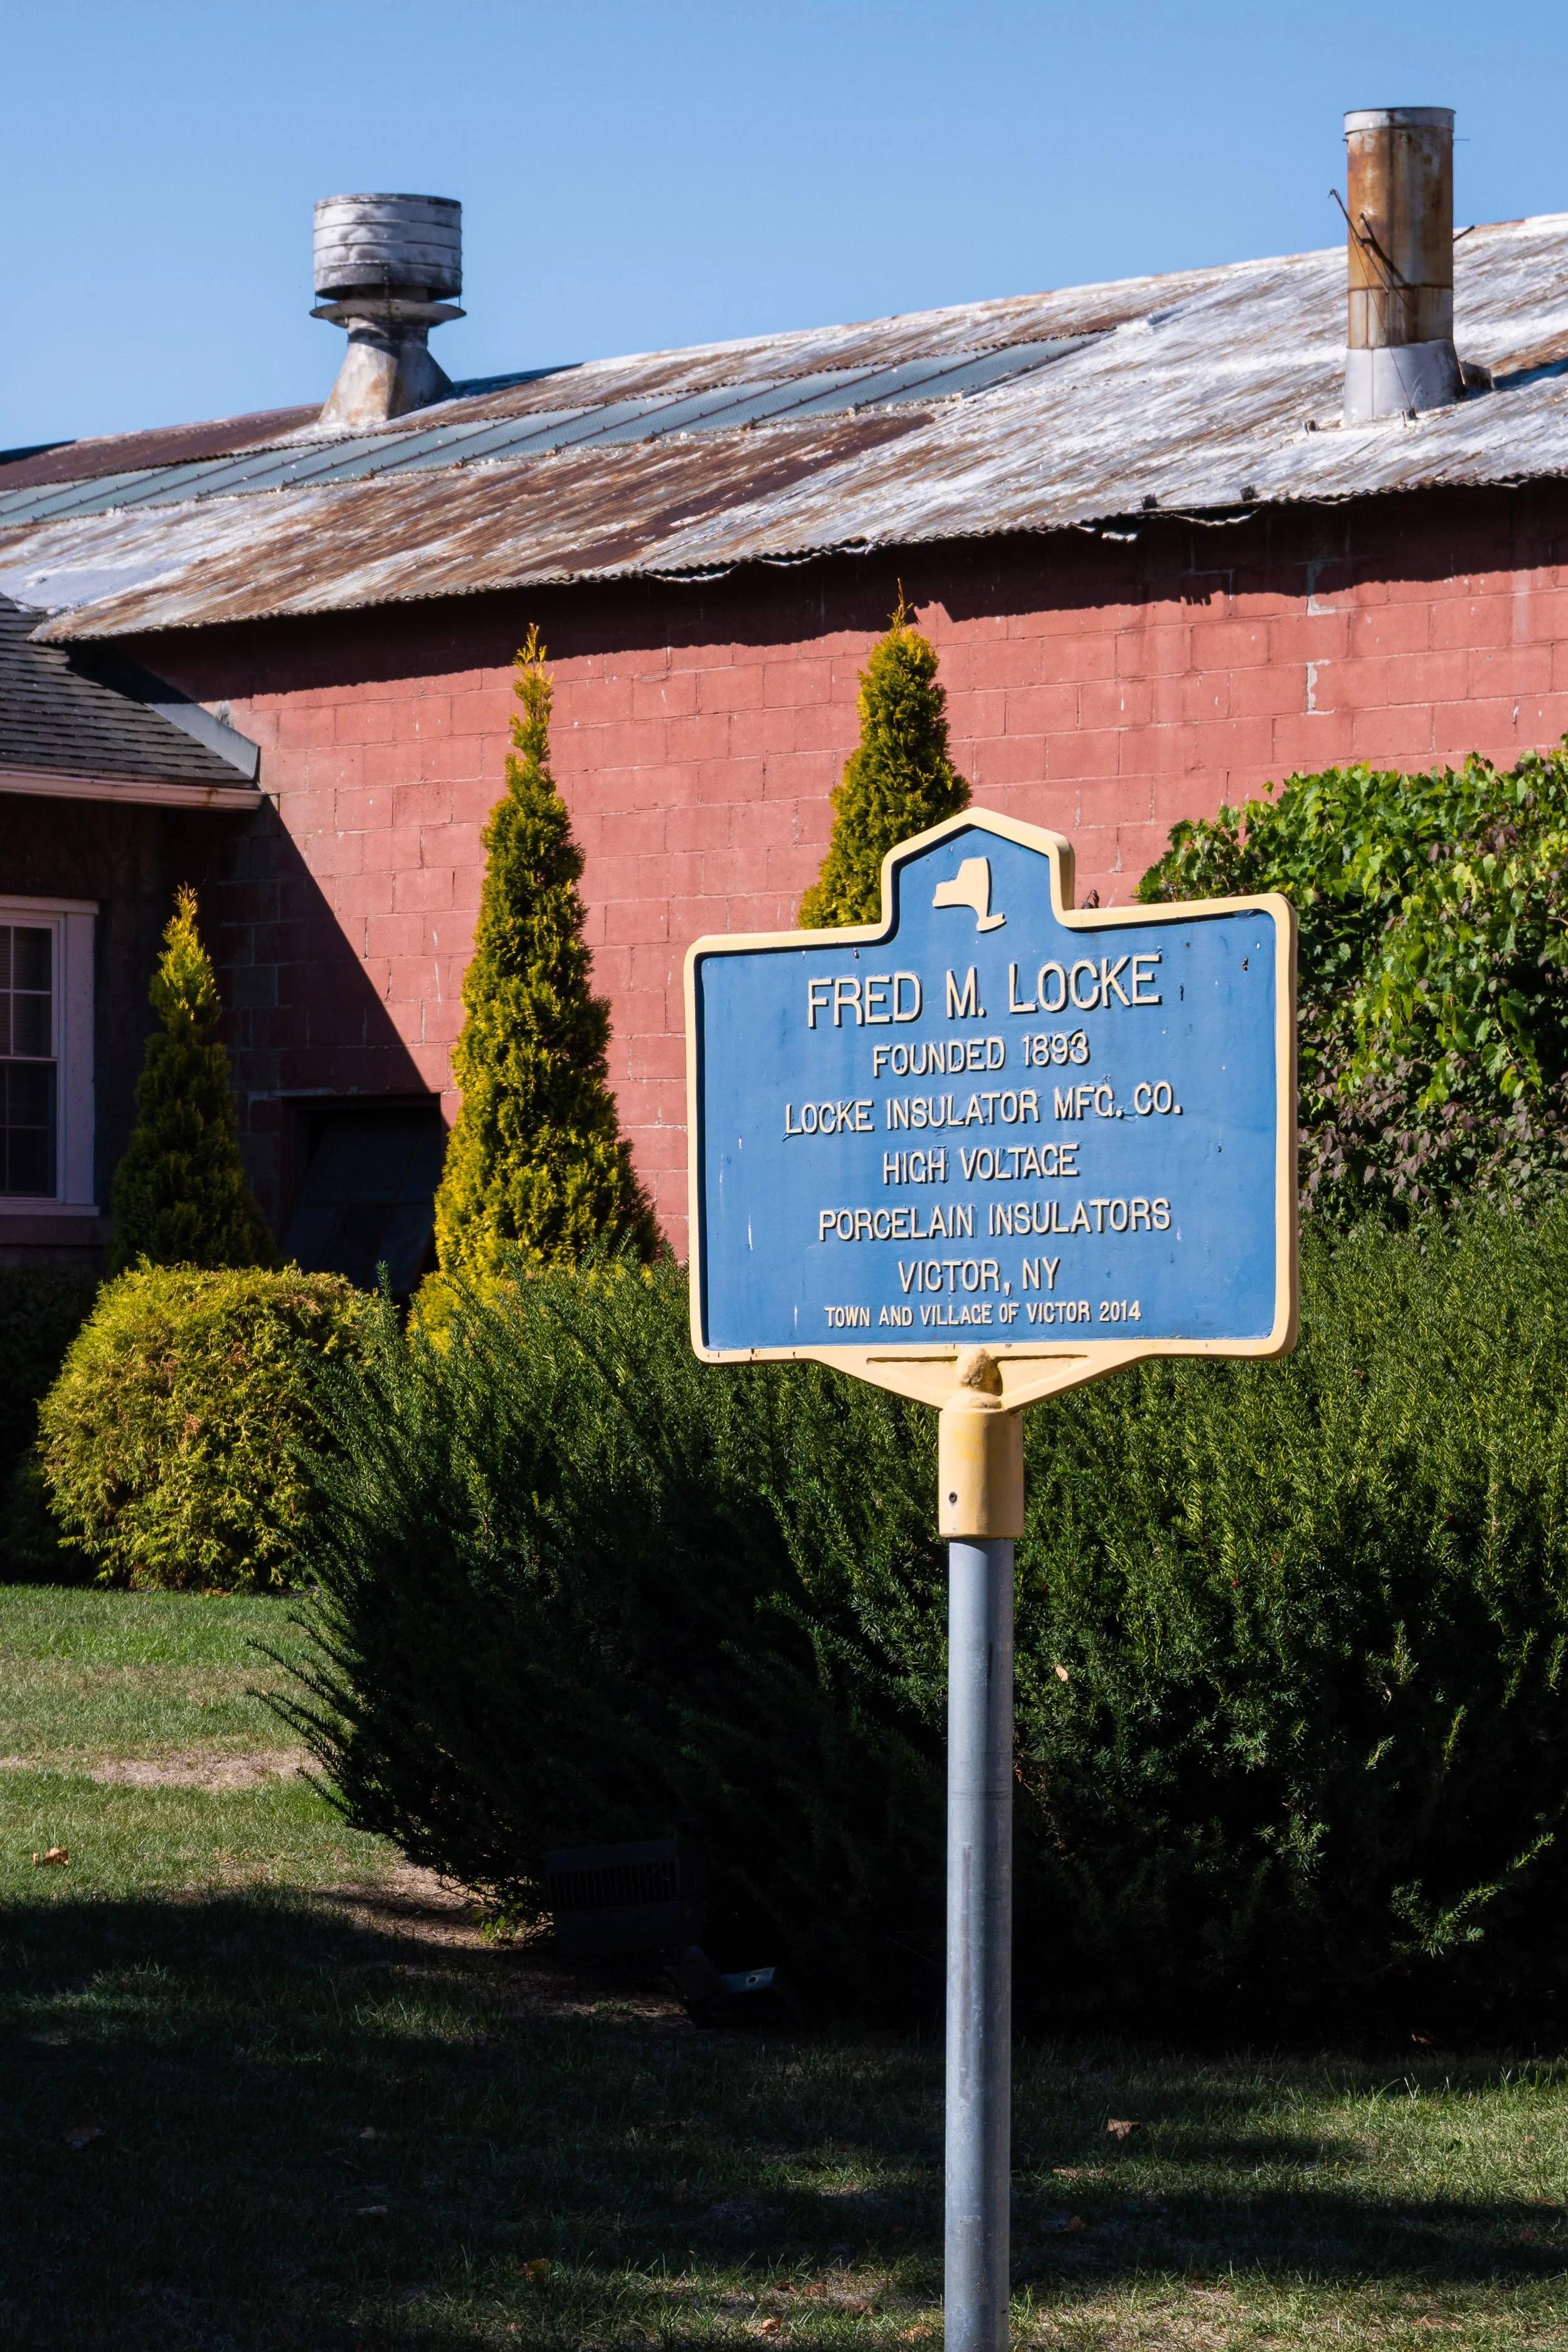
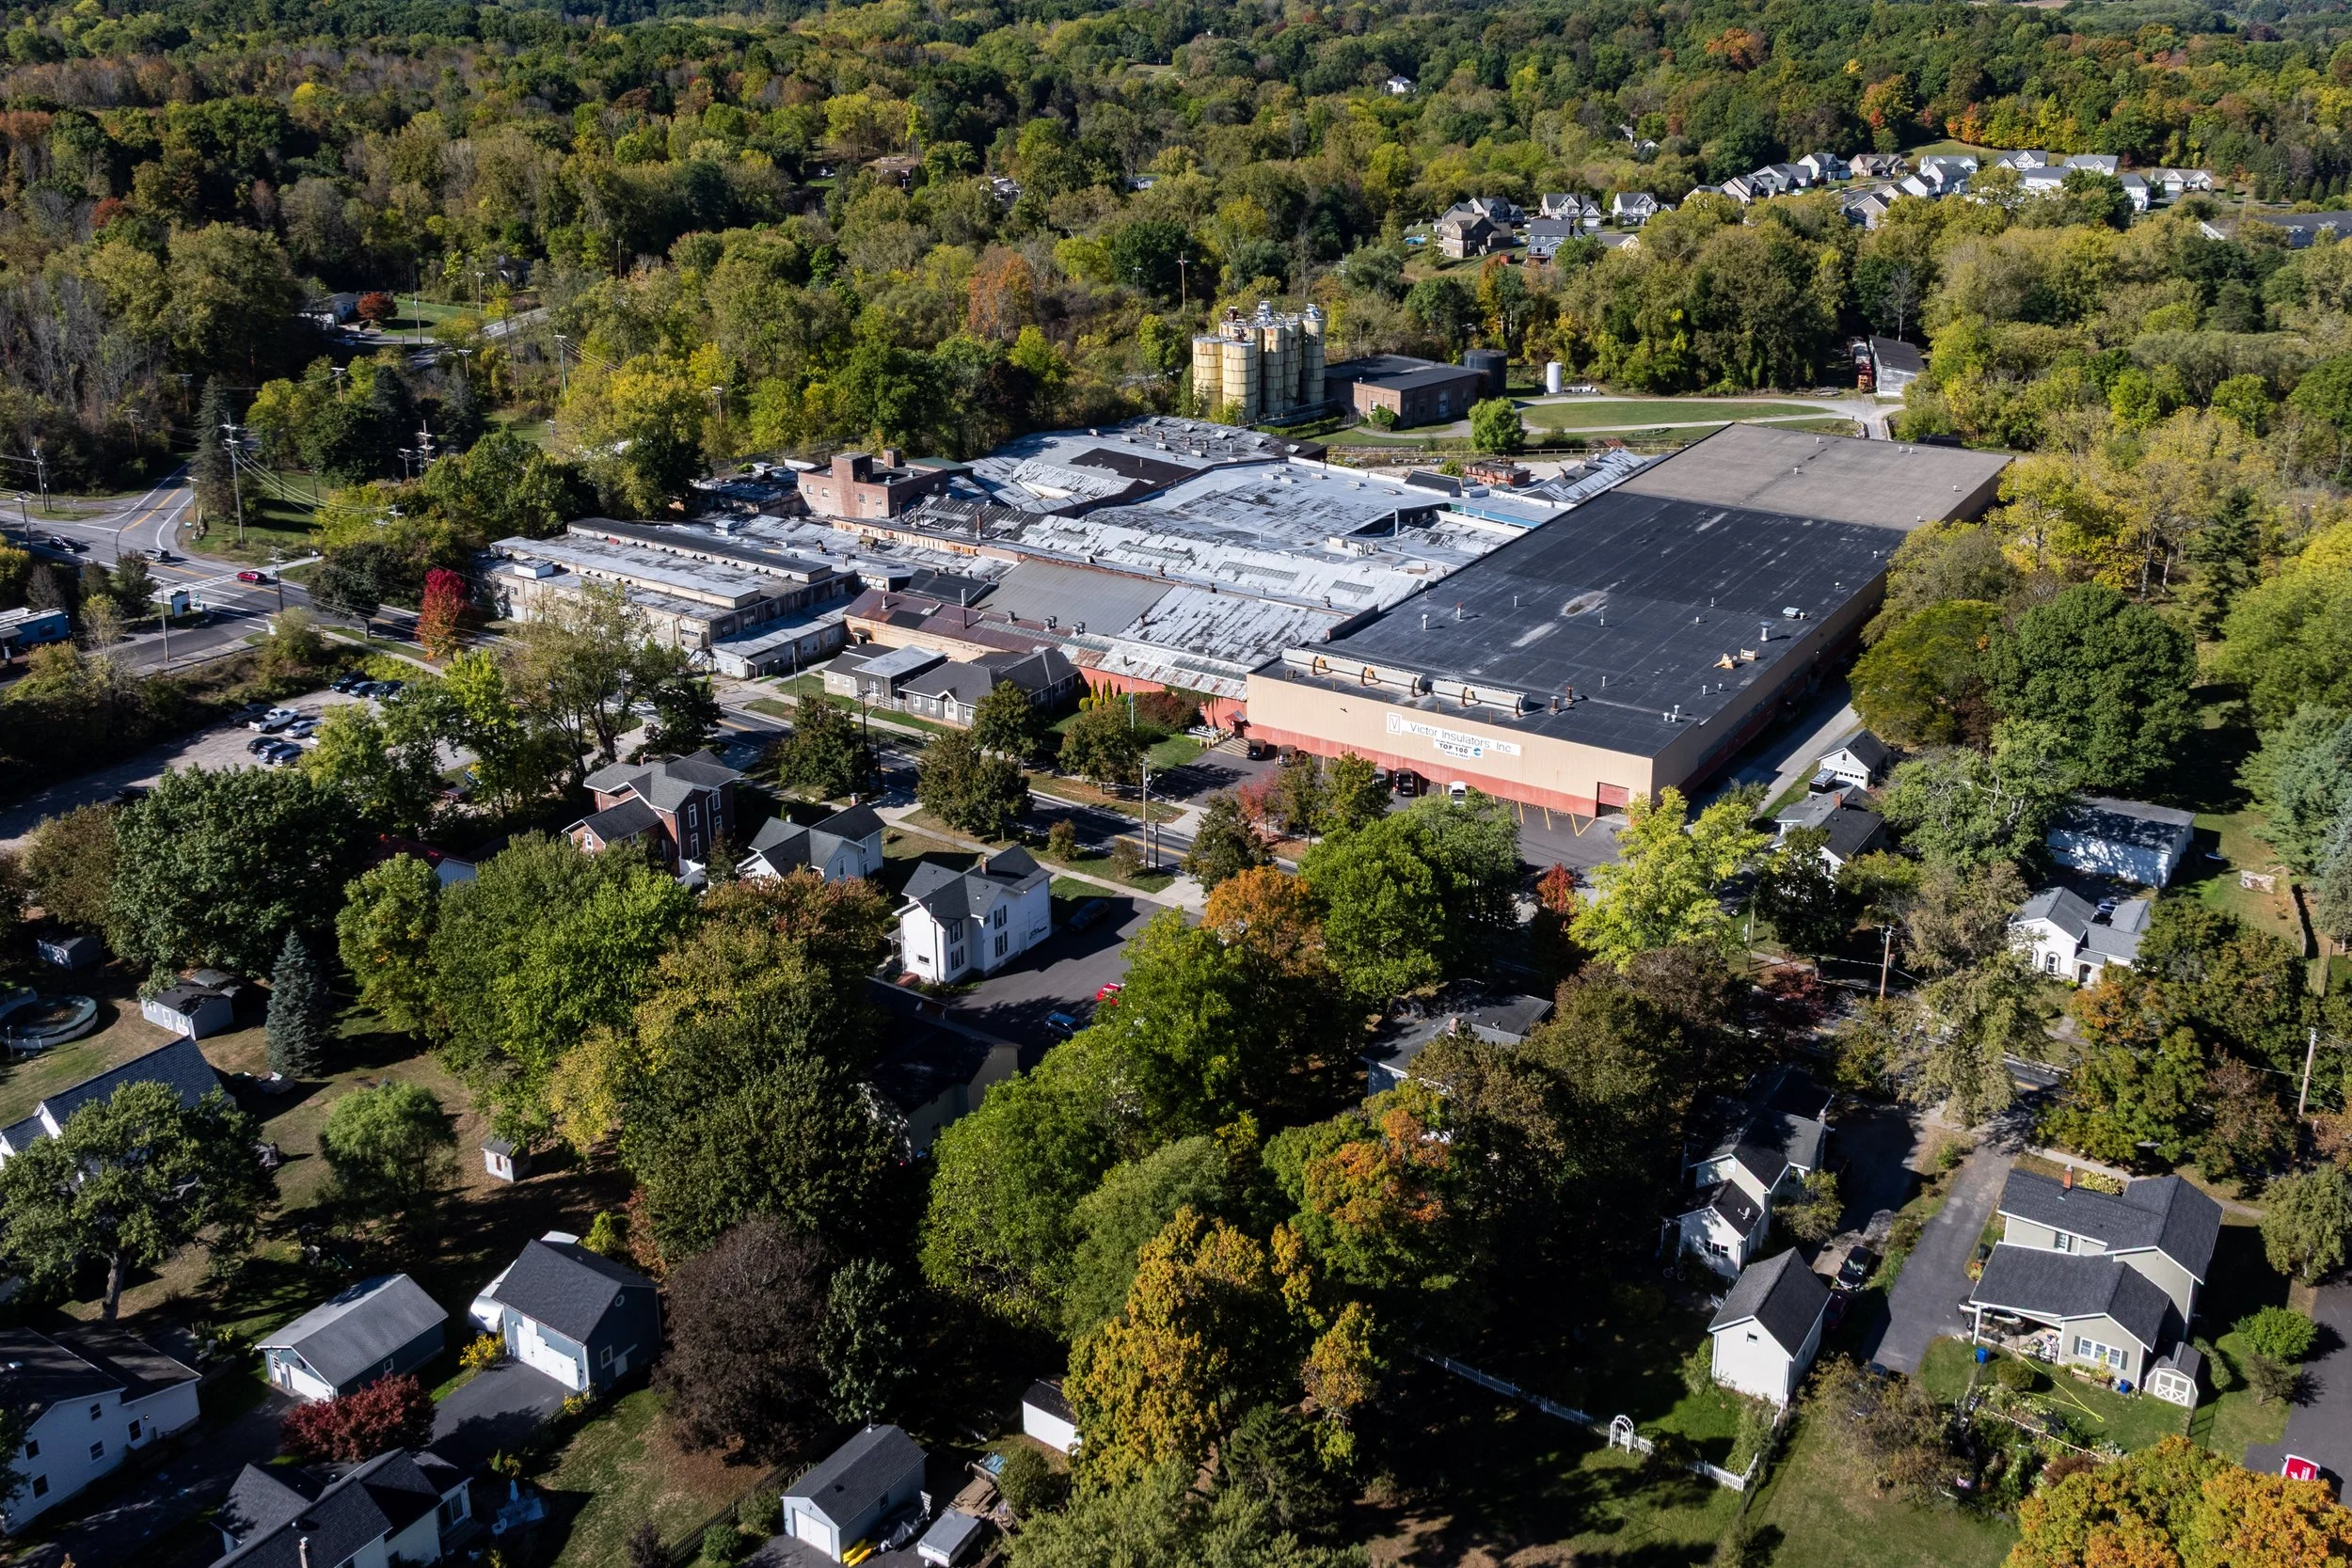
Aerial view of the Victor Insulator Factory in Victor, NY.