Z 24mm f/1.7 DX, Z 16-50mm f/3.5-6.3 DX, and Z50
It was a chilly summer night in New Hampshire, and I was sitting at the dining room table of the family cabin, typing up a blog post about the Abenaki Indian Shop & Camp in Conway, NH. I think it was around 2 AM when I heard the signature ding of a new email hitting my inbox - Nikon had just released the Z 24mm f/1.7 DX lens I’d been dreaming about ever since it showed up on Nikon’s lens roadmap! Practically sight-unseen, I threw the lens in my cart and pre-ordered it. I own a bunch of specialized Nikon lenses like the F-mount 19mm PC-E and 8-15mm fisheye, but I’d never been so excited for a new lens as I was for this Z-mount DX lens.
I started shooting DX in 2015 with a D5500, making the jump to a D810 in 2021. I’ve always felt that Nikon has somewhat neglected its DX lens lineup, but the fantastic Nikon F-mount 35mm f/1.8 DX lens was my first foray into the world of sub-f/2.8 prime lenses. That lens opened me up to a whole new world of bokeh and depth-of-field control in 2015, and I’ve been waiting for Nikon to drop a Z DX equivalent since I picked up the Z50. I’ve spent a good amount of time shooting with this lens since it arrived in August 2023, and I’m finally ready to share my thoughts on it.
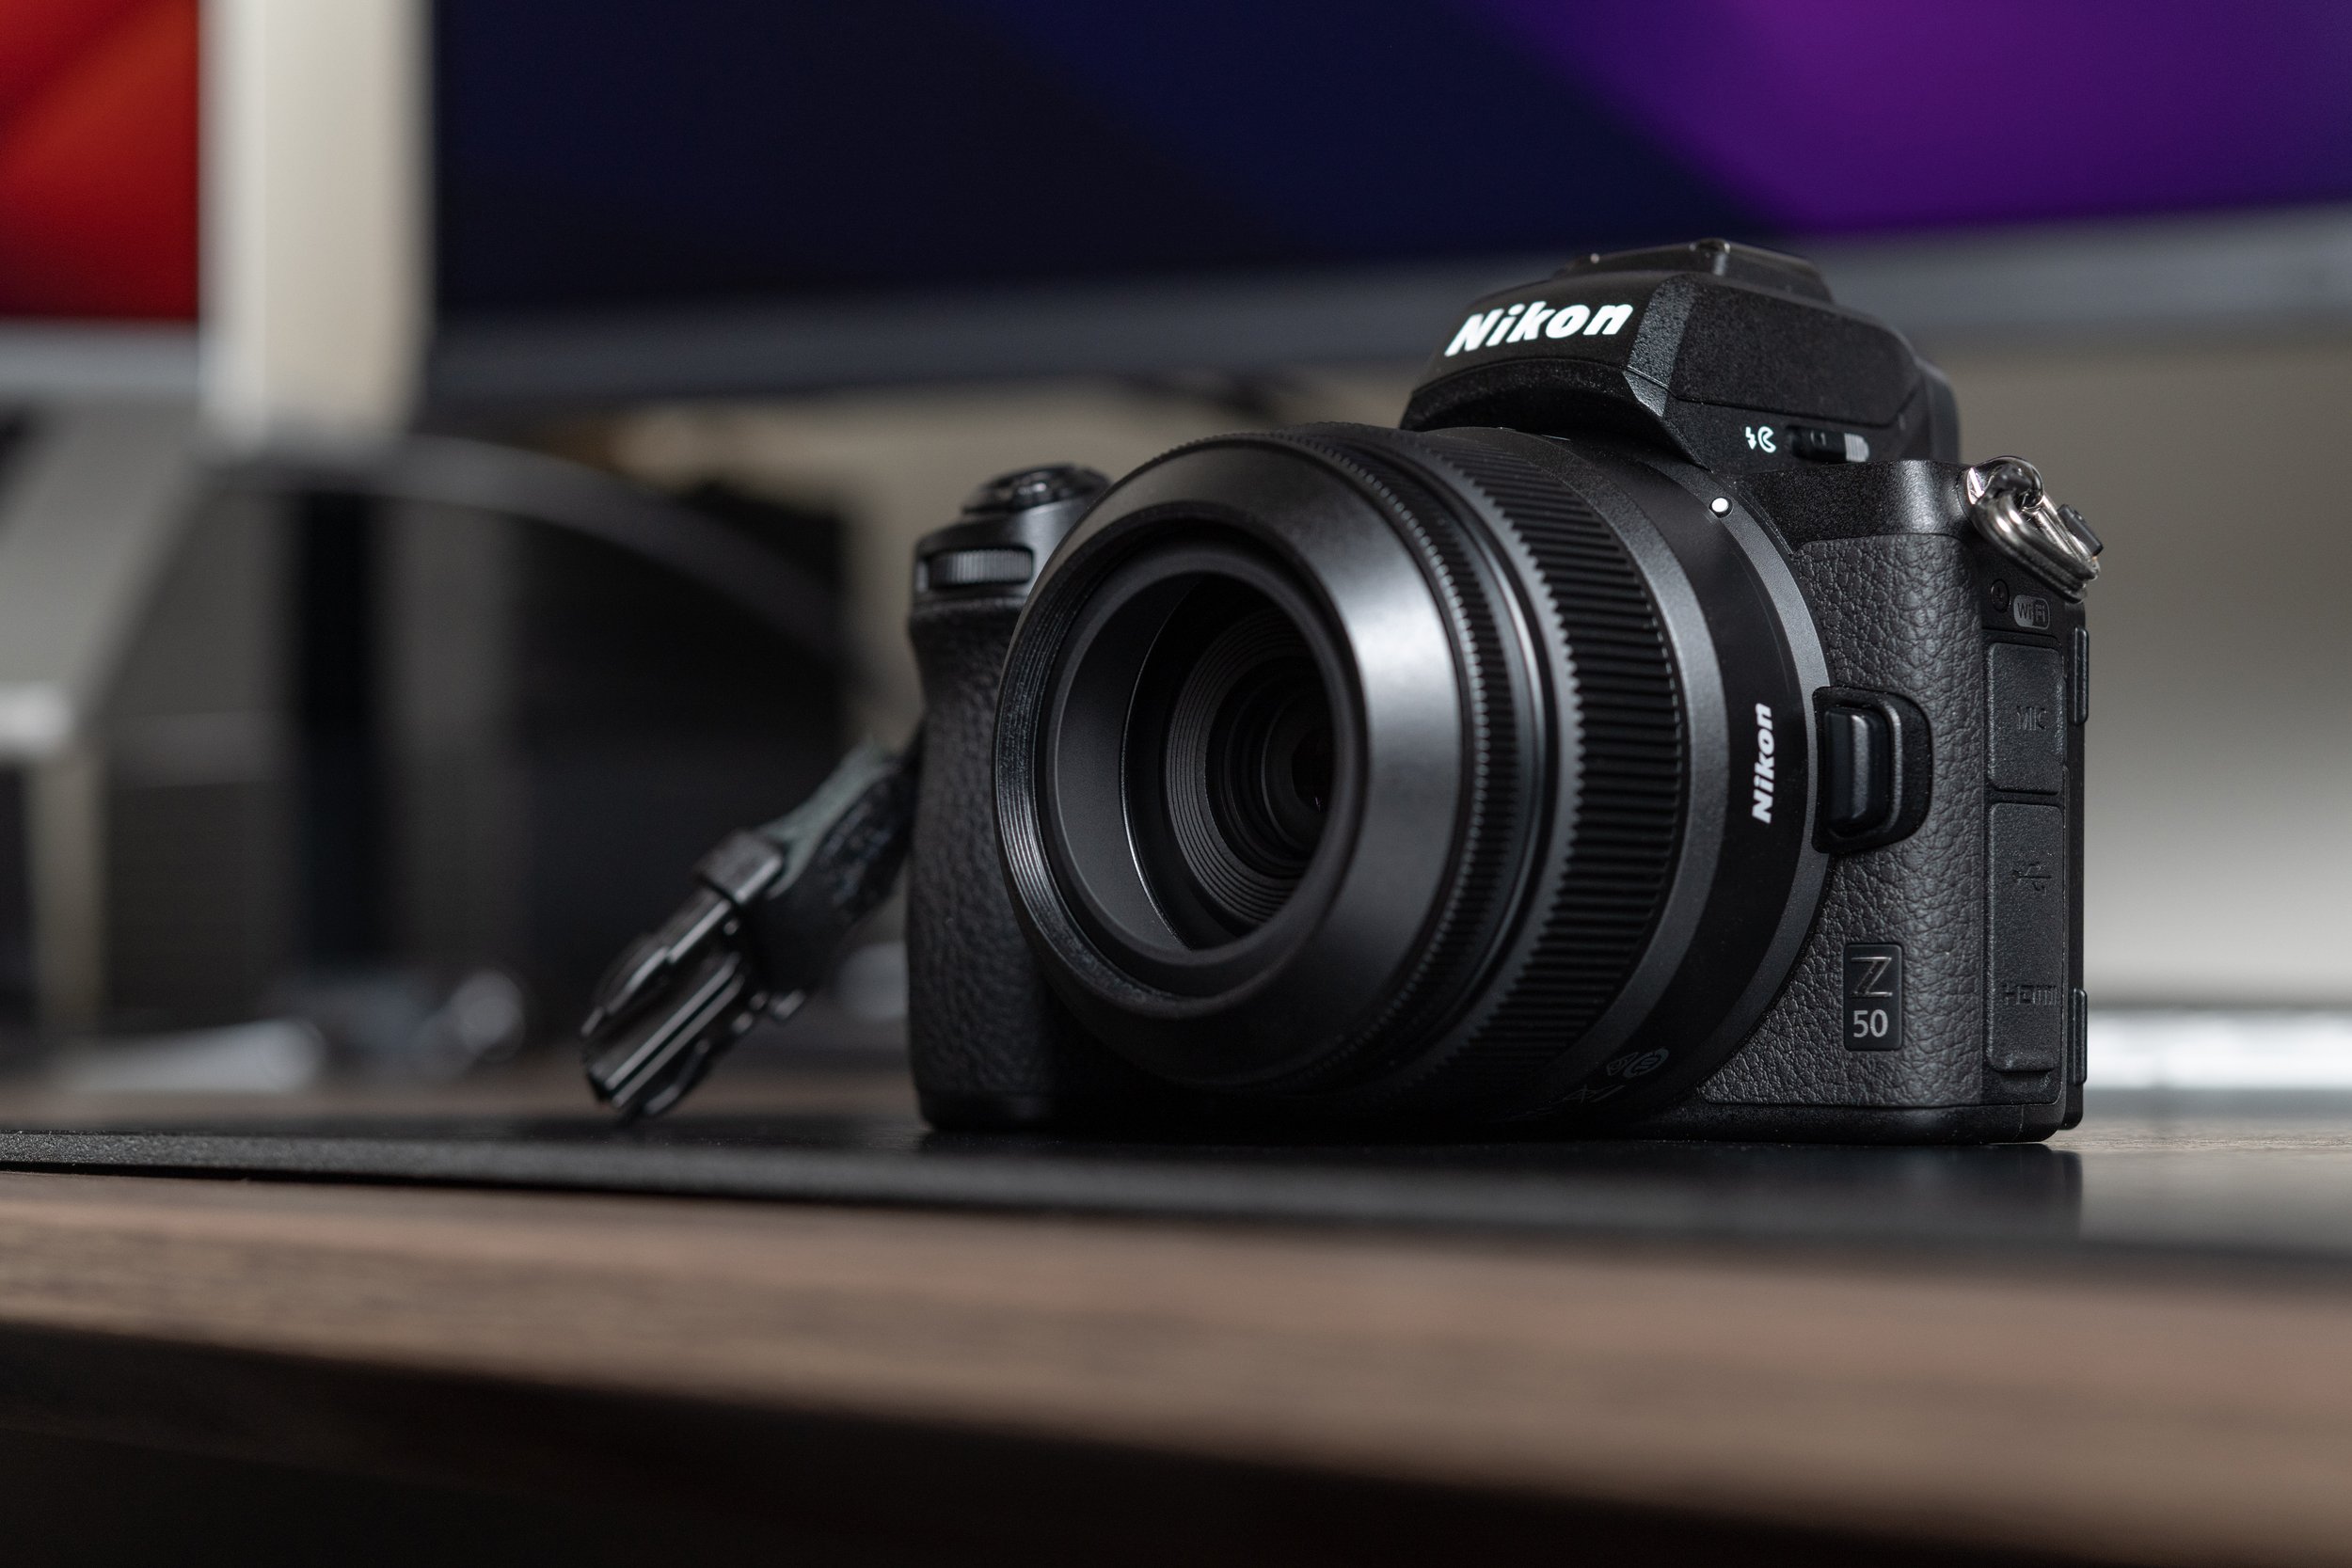
Z 24mm f/1.7 DX mounted on a Z50
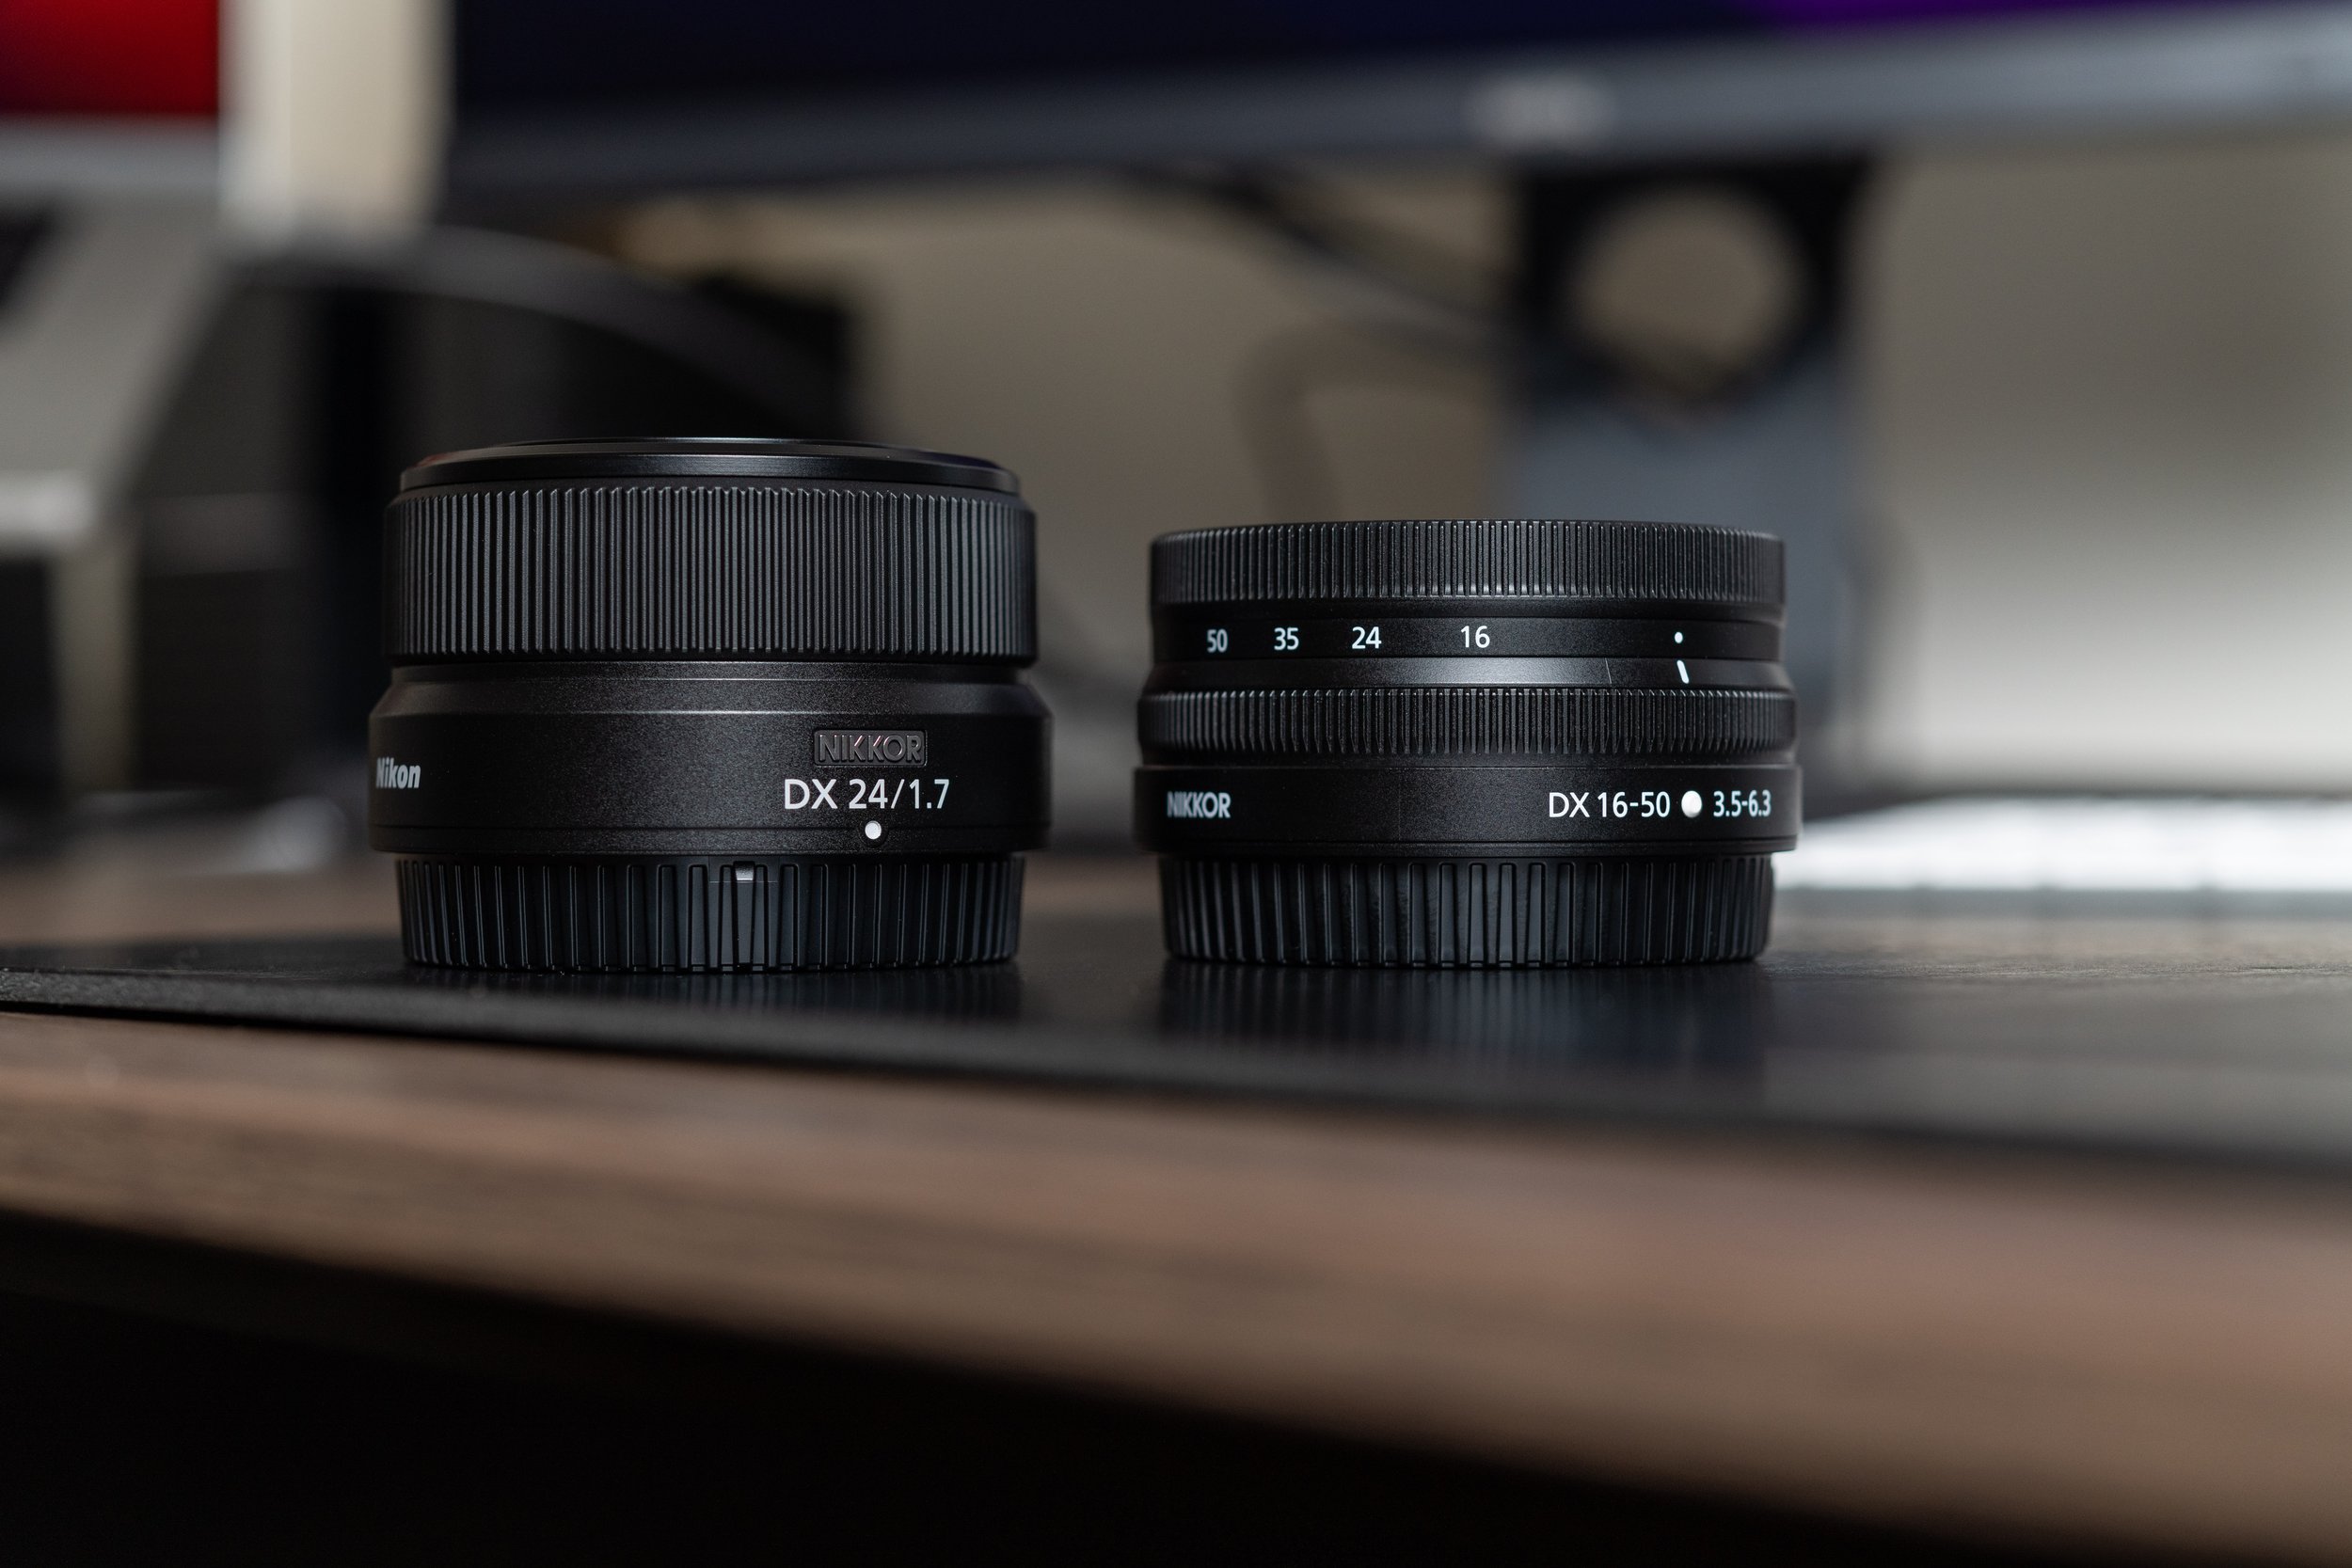
Z 24mm f/1.7 DX vs Z 16-50mm f/3.5-6.3 DX without lens hoods
Nikon Z Prime Lens Comparison
So why choose this lens over the Z 28mm f/2.8 or Z 40mm f/2 lenses Nikon offers? There are a few advantages inherent to this lens for those of us who sport a Z DX camera like the Z50:
Advantages of a DX-Only Lens | Because a DX sensor is physically smaller than a full-frame sensor, Nikon engineers can reduce costs by designing a lens that throws a smaller image circle than an equivalent full-frame counterpart. For the same price as the Z 40mm f/2 lens, you get a faster aperture, 35mm-equivalent field of view (FoV), and all in a lighter package. If I could only take one prime lens with me, I’d rather have a 35mm-equivalent FoV than a more restrictive 60mm-equivalent FoV.
Portability | Compared to the excellent Z DX 16-50mm f/3.5-6.3 VR, this lens is marginally larger with the (somewhat unique) hood attached. I use a MegaGear neoprene case when traveling without a camera bag, and I can still cram the Z50 + lens + hood into it when I’m trying to minimize the gear I take with me.
Fast Aperture | While I almost never shoot wide open, the f/1.7 aperture of this lens offers just a bit more light-gathering capability when you need it most. Who knows what’s in store for future Z DX cameras, but for now we need all the light we can get to compensate for the lack of IBIS.
Filter Thread Size | This lens shares the same 46mm filter thread as the Z DX 16-50mm f/3.5-6.3 VR, so there’s no need for adapter rings or new filters if you’ve already invested in them. This won’t be helpful if you own any of the other Z DX lenses out there, which all use bigger filters. But this was a bonus for me, as I have no use for all-in-one zooms or telephoto lenses.

Nikon z50 + 24mm f/1.7 DX | 1/640 sec. at f/8, ISO 100
Handling and Performance
How does it handle in the field? To find out, I made the drive over to Saint-Gaudens National Historical Park on the border of Vermont and New Hampshire. The weather was awful - overcast, with periodic showers and excessive humidity. I was hoping to get a mix of architectural shots, close-ups of flowers and the like, and some low-light shooting opportunities to find out what the lens could do. The park was established in 1965 to preserve the studio and home of Augustus Saint-Gaudens, who sculpted numerous important monuments during his career. Notable works include the statue of Abraham Lincoln that stands in Chicago and the Sherman Monument in NYC.
From an ergonomics perspective, this lens handles well when attached to the Z50 and makes for a well-balanced package. The focusing ring is right where you’d expect it to be, which alleviates my chief complaint about the inconvenient placement of the focusing ring on the Z DX 16-50mm f/3.5-6.3 VR. The lens hood, while certainly odd, does its job well and protects the front element while reducing flare. I’ll be leaving the hood attached at all times, as I do with the Z DX 16-50mm f/3.5-6.3 VR.
One notable omission in the design of this lens is vibration reduction (VR). The Nikon’s Z DX camera lack IBIS, so you’ll need to watch your shutter speed in low light to avoid shaky photos.


1/400 sec. at f/8, ISO 100
Chromatic aberration is well controlled despite a lack of ED (extra-low dispersion) elements in the lens’s design, and any fringing I found was easily correctable in Lightroom. Focusing was fast and accurate, just like I expected.
Part of my excitement about this lens was that it provided a reasonably priced Nikon equivalent to the Fujifilm X100V, which seemed like the perfect portable camera for those trips where I don’t want to lug the D850 with me. I bought (and sold) an RX100V because I just couldn’t make the Sony RAW files I was getting from the camera work in Lightroom, so having a fast, roughly 35mm-equivalent FoV lens that works with a camera I already own is a huge plus. Shooting exclusively with a prime lens like this forces you to zoom with your feet and think about composition more than you would with a zoom lens, which makes this the perfect lens to carry around and practice your photography without a particular subject in mind.


When it comes to close-ups, this lens does a great job with close focus and blowing out the background at large apertures. I’d say the focal length is a little too wide for portraiture, but it worked just fine for the flowers that were blooming at Saint-Gaudens. The only real complaint I have so far about this lens is the vignetting. Chromatic aberrations are almost nonexistent compared to the F-mount 35mm f/1.8 DX, but the vignetting on this lens bothers me more than its F-mount cousin did.
The Verdict
I’d recommend this lens for a number of reasons to all Z DX camera owners: it’s reasonably priced, it has a versatile focal length, and it’s fun to shoot with. The F-mount 35mm f/1.8 DX really sold me on photography back when I started - seeing the bokeh, depth-of-field control, and light-gathering capabilities a fast prime lens could offer. So whether you’re looking for a reasonably priced lens to add fun to your shooting or for a faster aperture to help in low-light situations, I don’t think you can go wrong with the Z 24mm f/1.7 DX.

1/1250 sec. at f/2.8, ISO 100