I’ve been through a few different camera systems over the years, refining the equipment I work with to fit my shooting style. I started off in the world of medium format film with a Bronica ETRS 6x4.5, mainly because it was a reasonably priced system to get into. Scanning on an Epson V600, I just wasn’t happy with the picture quality I was getting from my negatives. The 6x4.5 format exists in this weird space between 35mm and 6x6 and I felt like it really didn’t provide any benefits over just shooting 35mm with my F100. When many people think of the 6x6 format, they envision a TLR (twin lens reflex) from companies like Yashica or Roliflex which features a fixed (usually ~80mm) lens. I stayed away from these cameras because I wanted interchangeable lenses, though I wanted to stick with the TLR style of camera. The unique selling point of the Mamiya TLR system is the range of interchangeable lenses which allows you to switch focal lengths mid-roll.
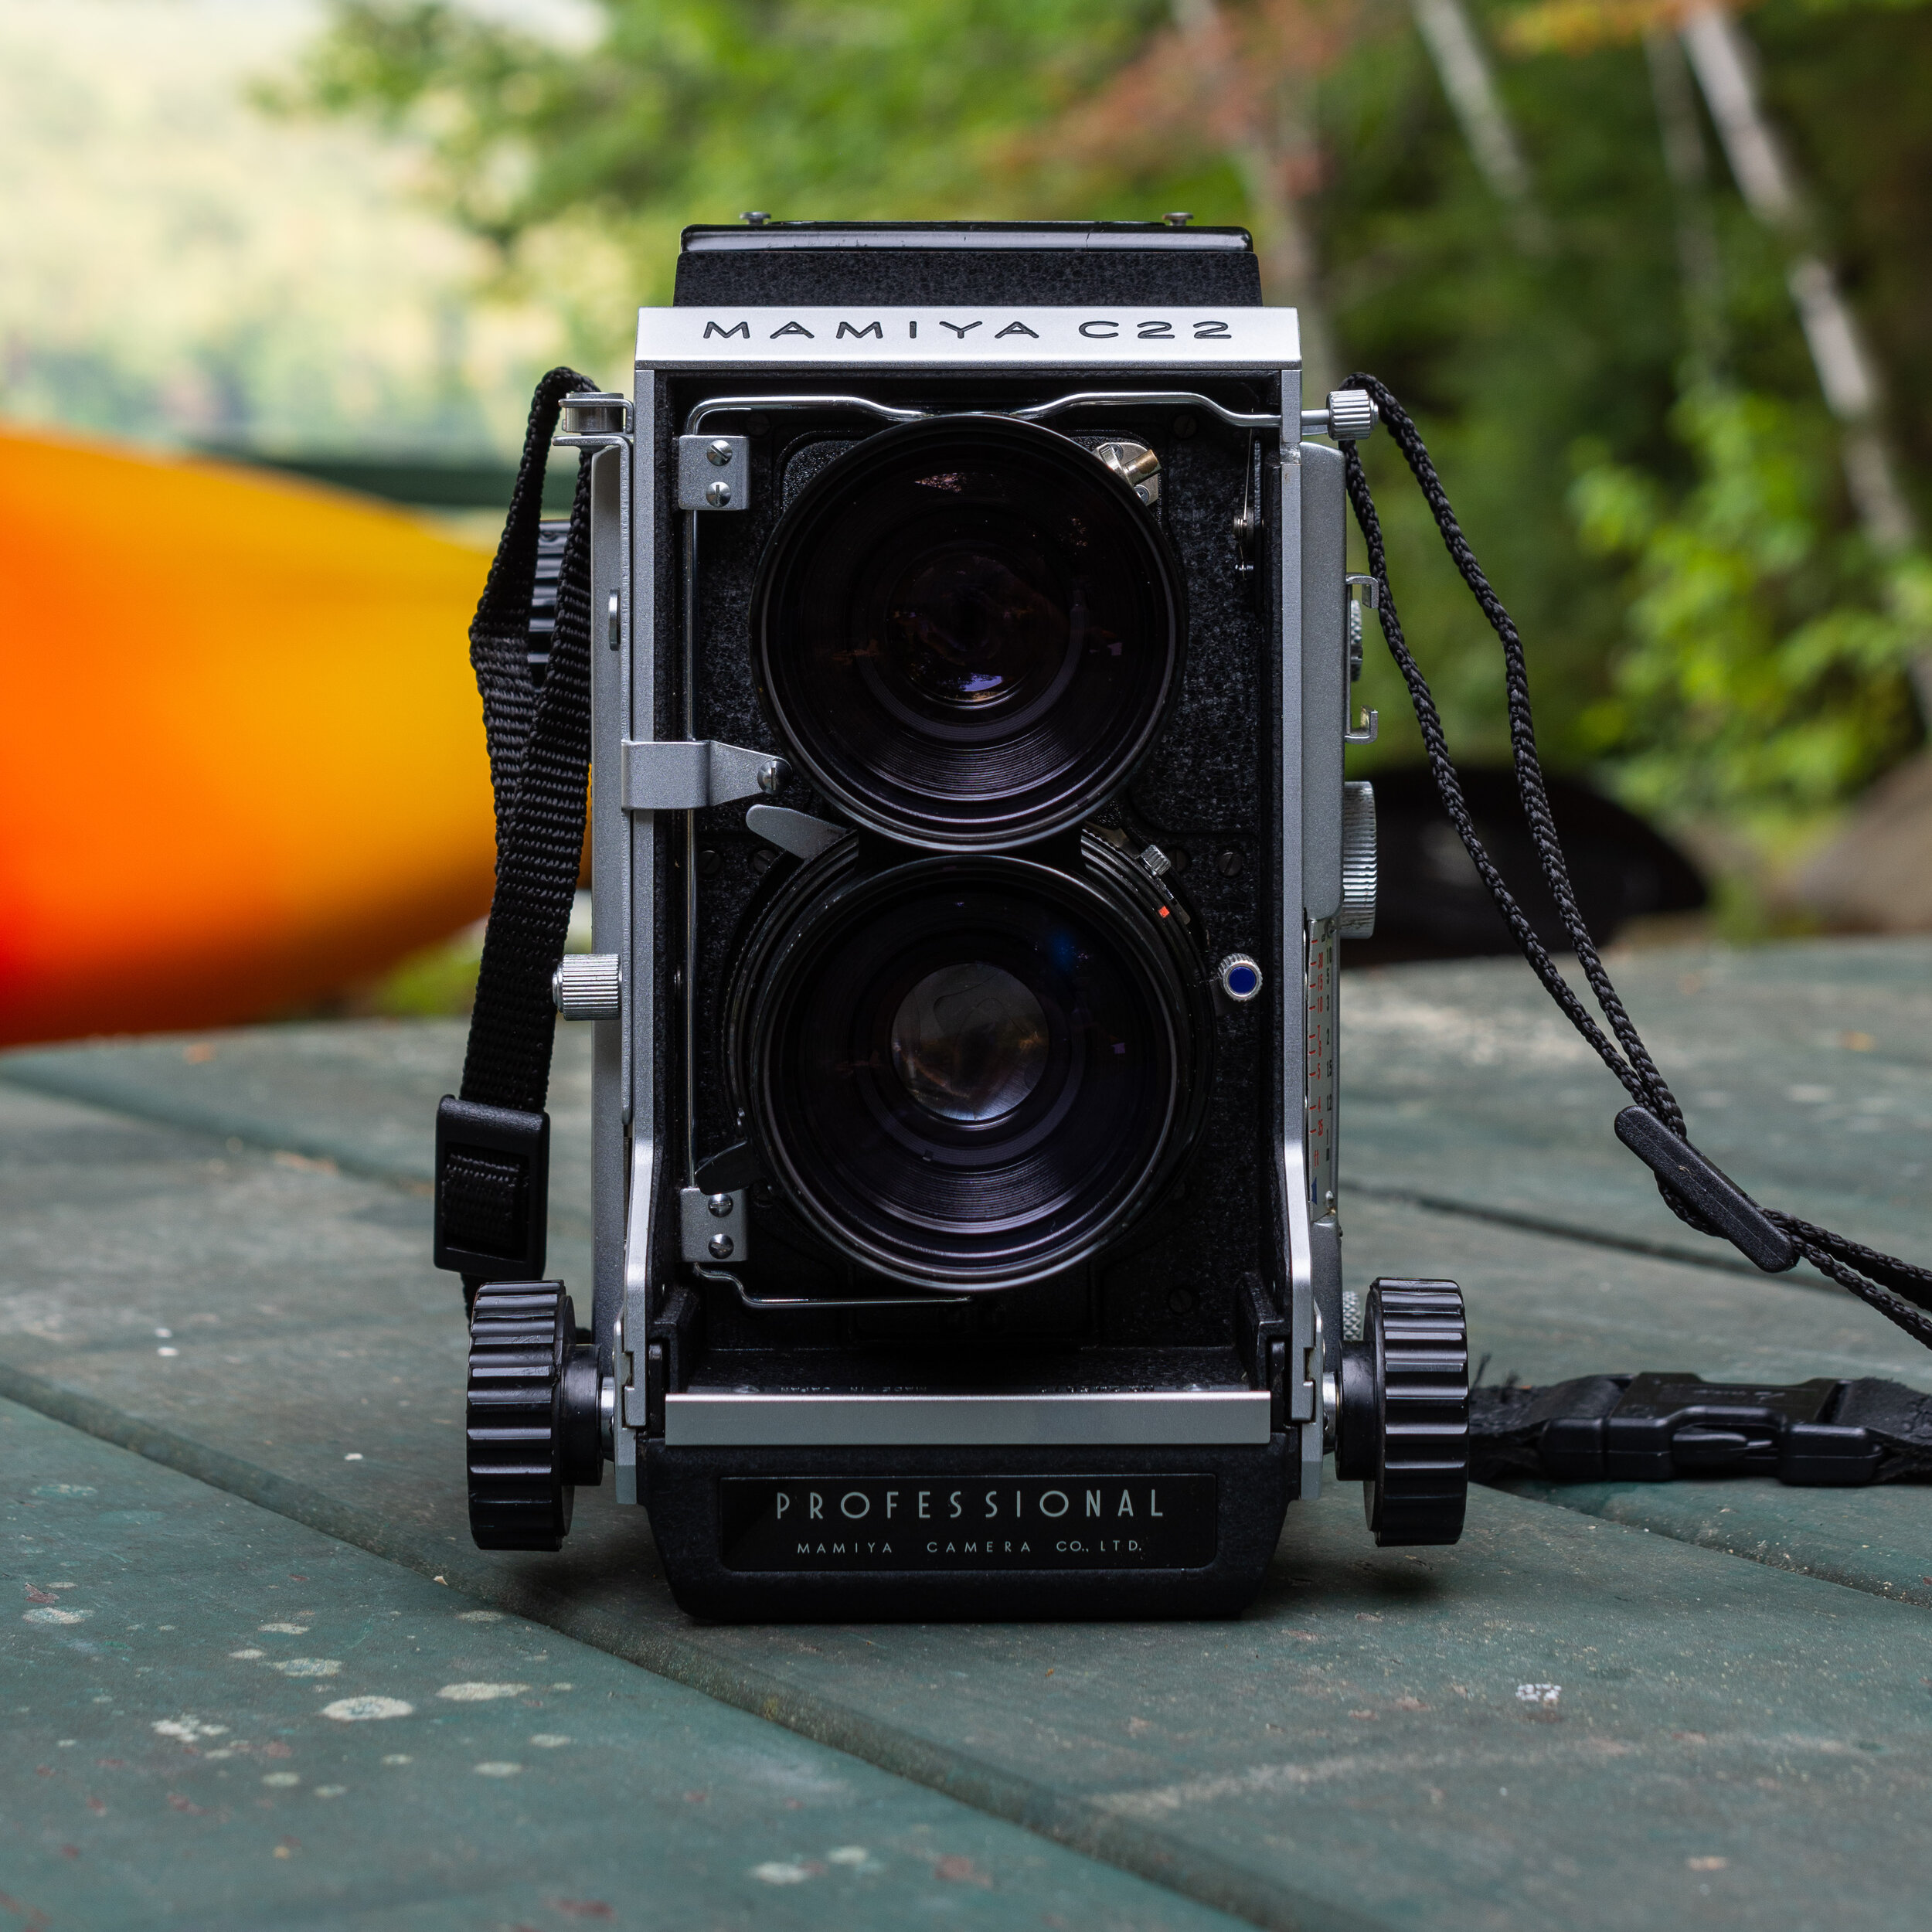
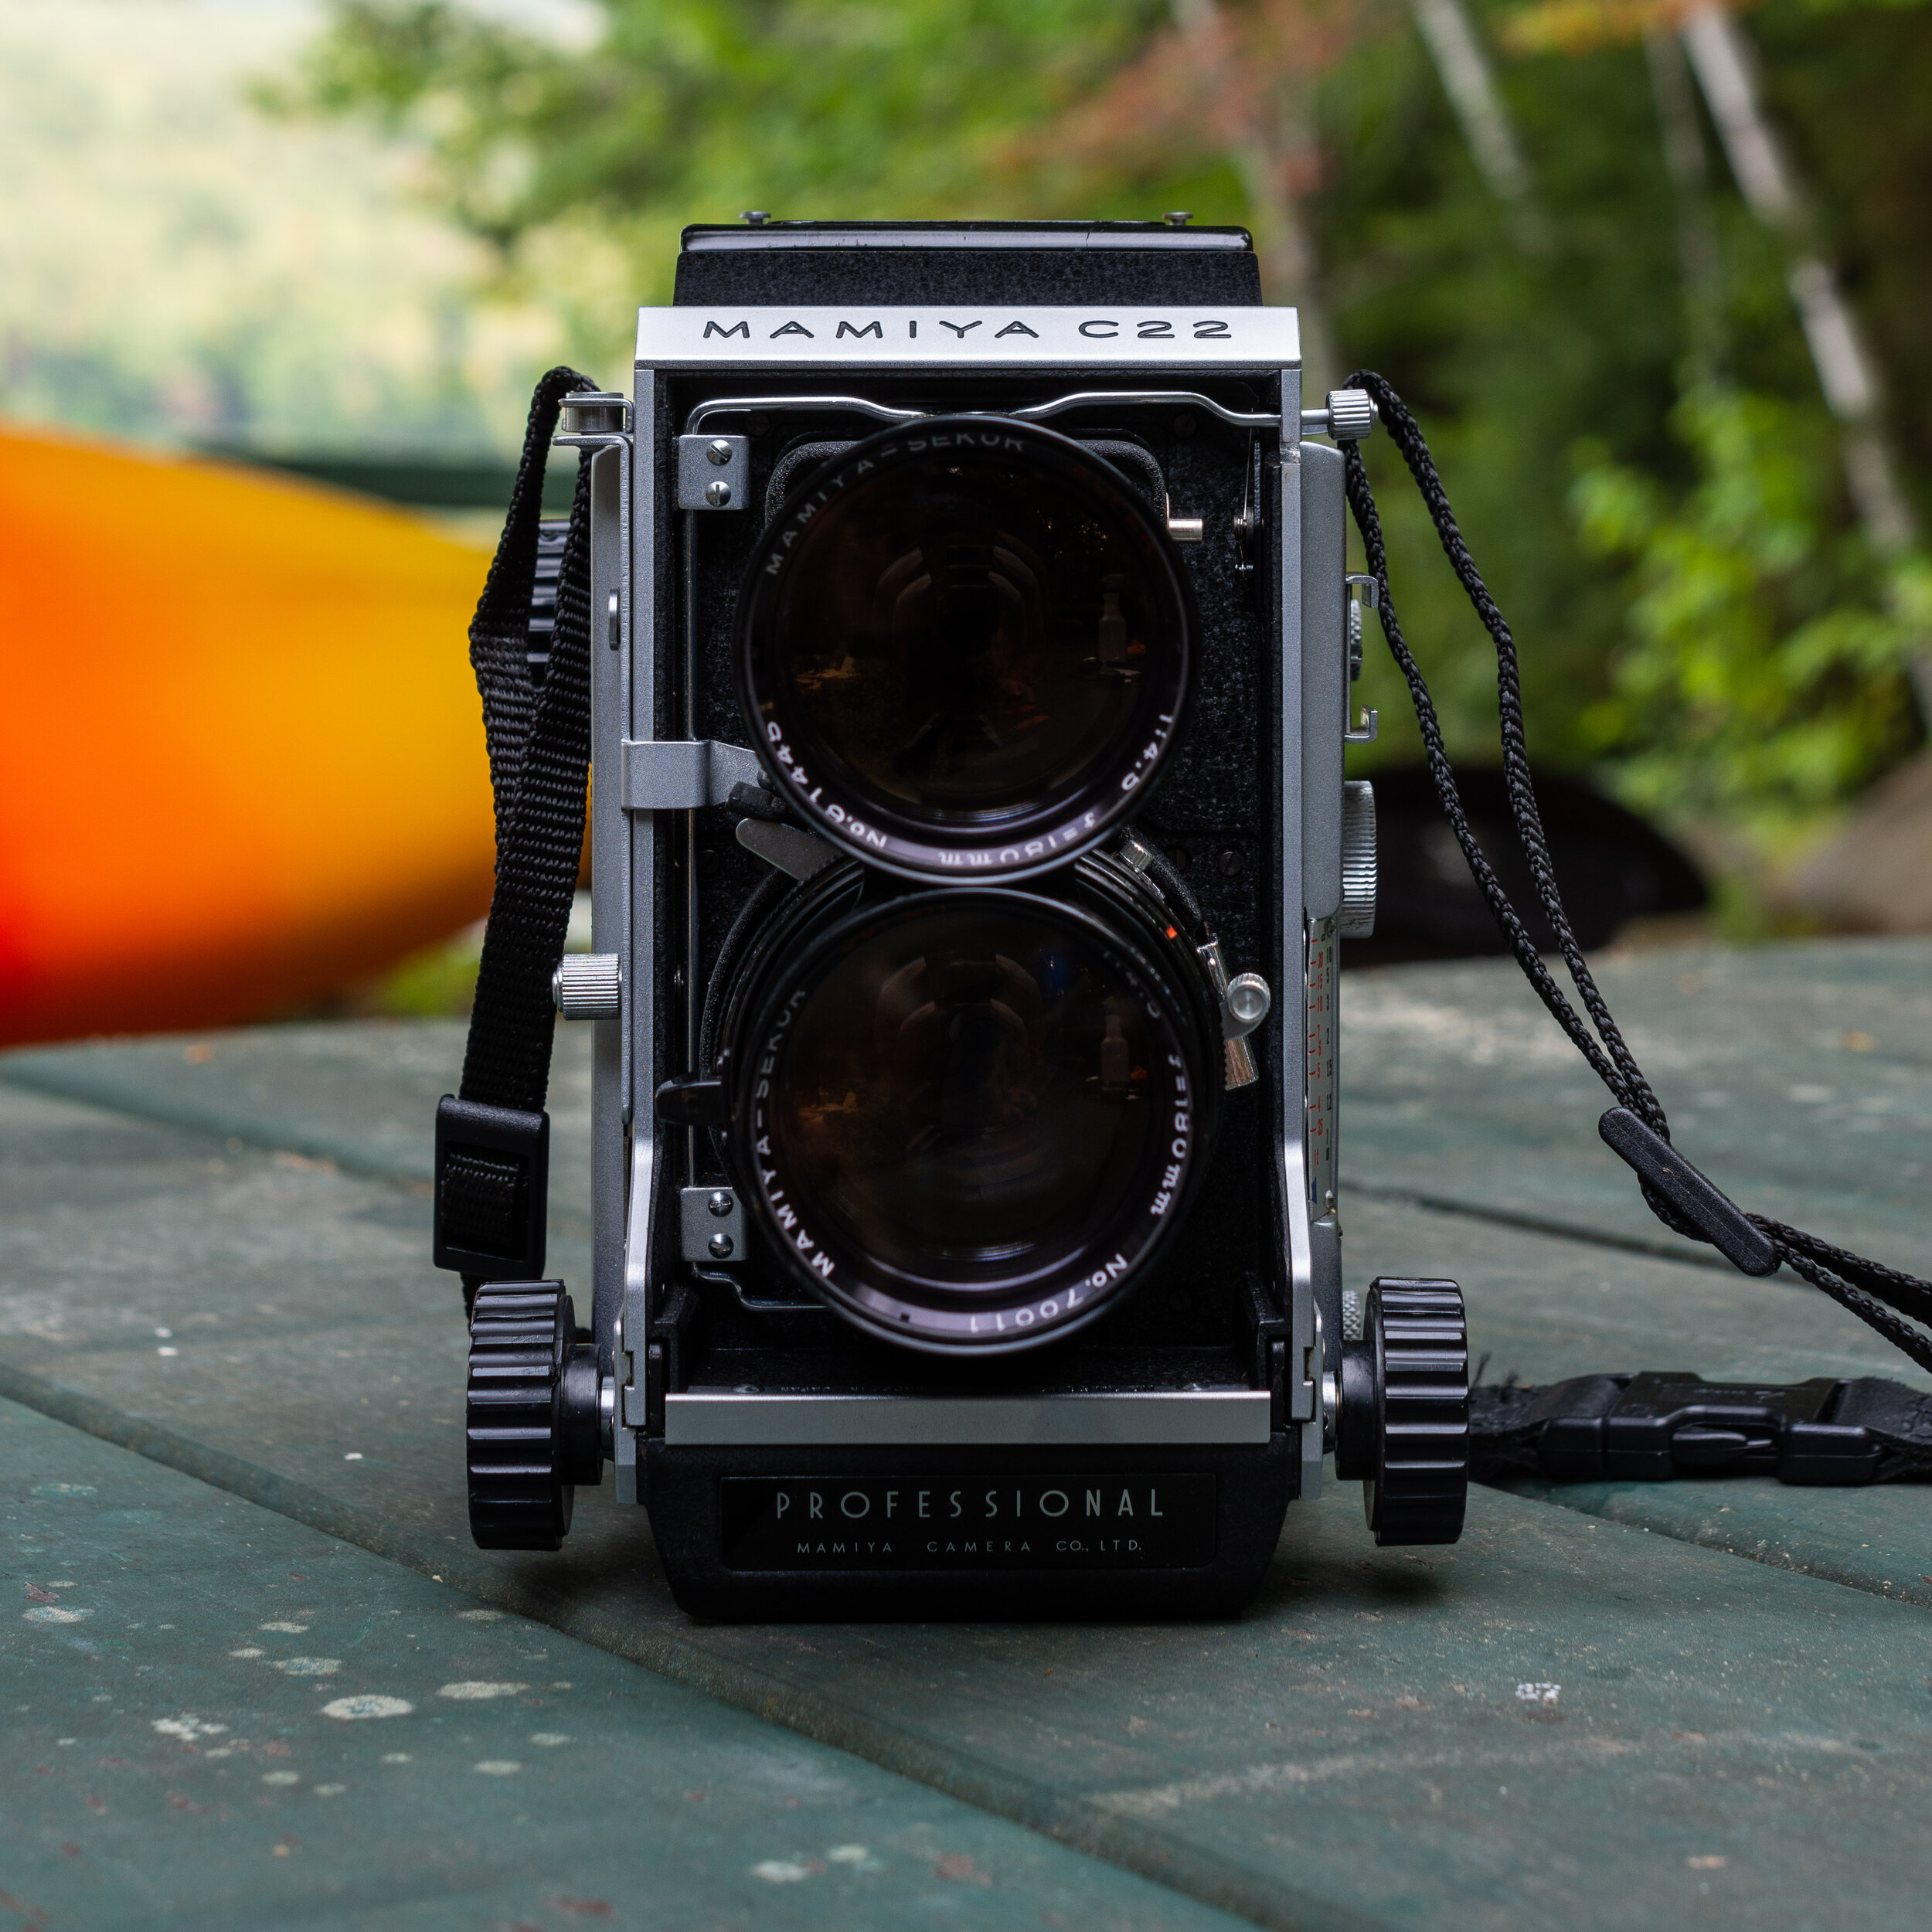
The Mamiya C22 is solid camera that just feels right in your hands. Mamiya is known for making heavy cameras (think of how much an RB67 weighs!) and the C22 is no exception. It’s weighty, but also helps you keep the camera steady when using a neck strap. I use a padded OP/TECH Envy strap, but even then, I can only wear the camera around for so long before my neck starts to hurt. Prism finders are handy when using the camera on a tripod because it’s impossible to look down through the waist level finder (WLF) when the camera is up high. I prefer the C22 over the C220 and C330 because it’s a simpler (and slightly lighter) camera. I also just prefer the design ascetics over the later bodies, and don’t mind the “drawbacks” of the C22.
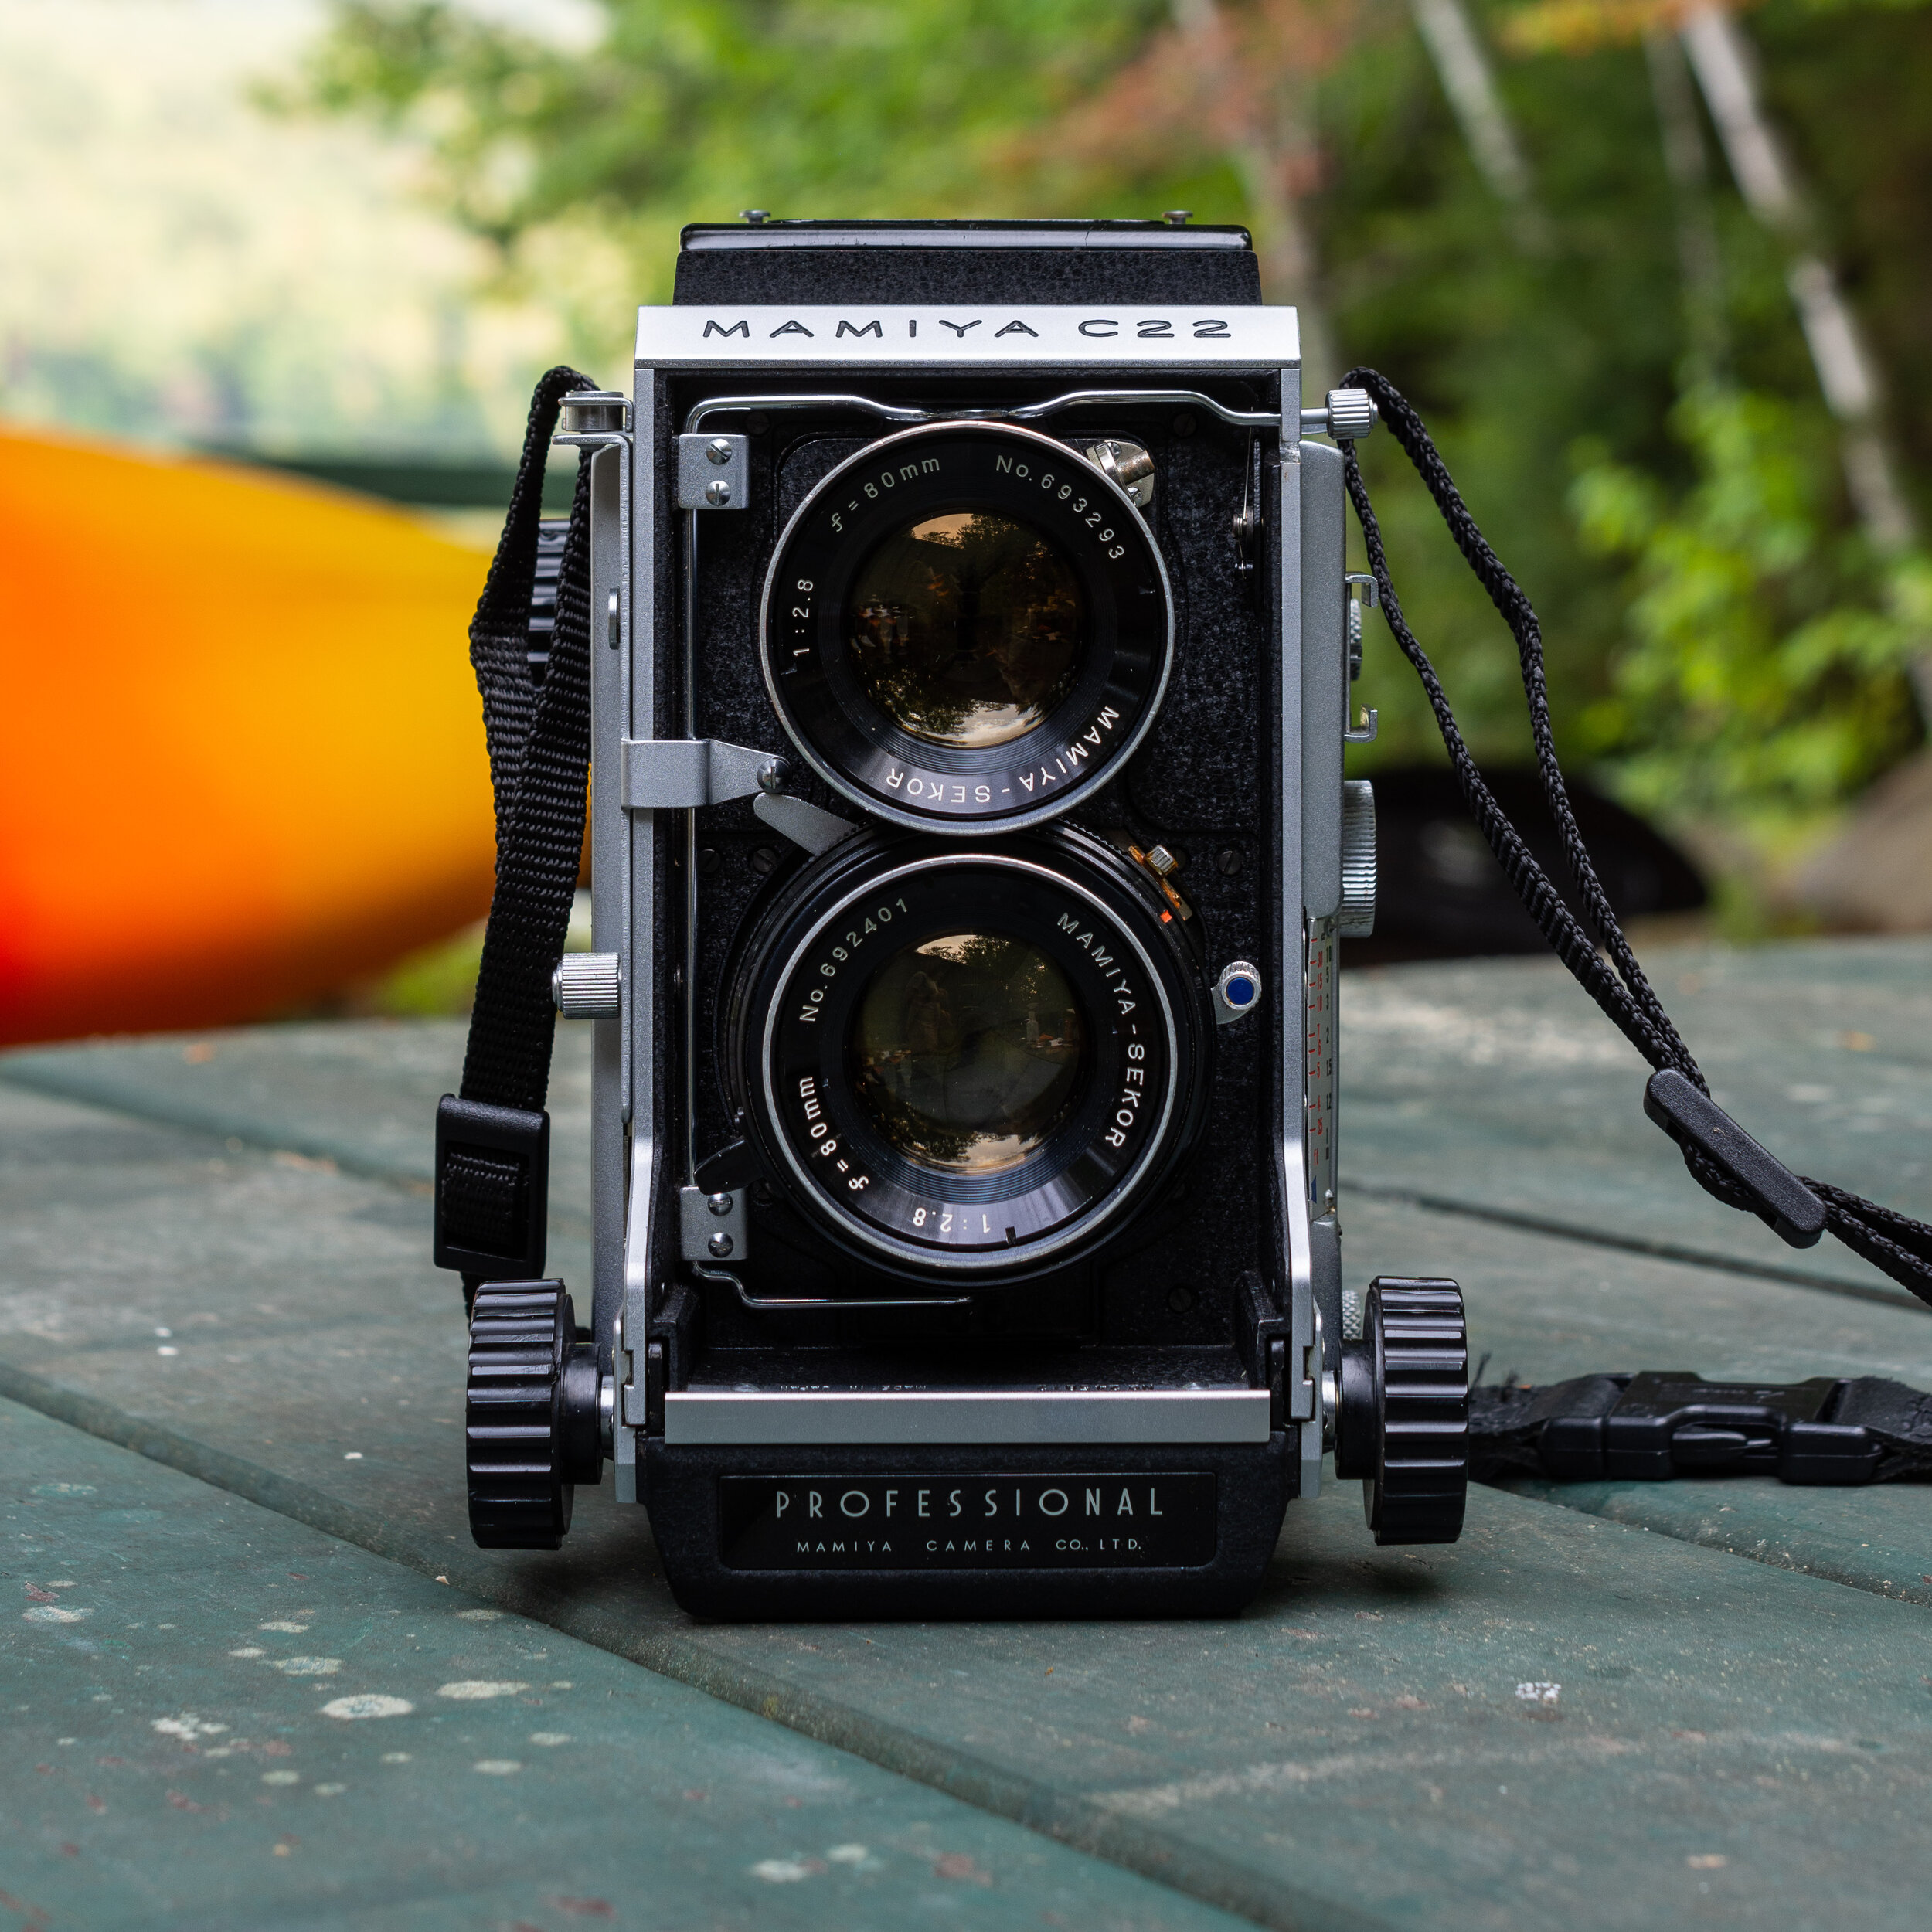
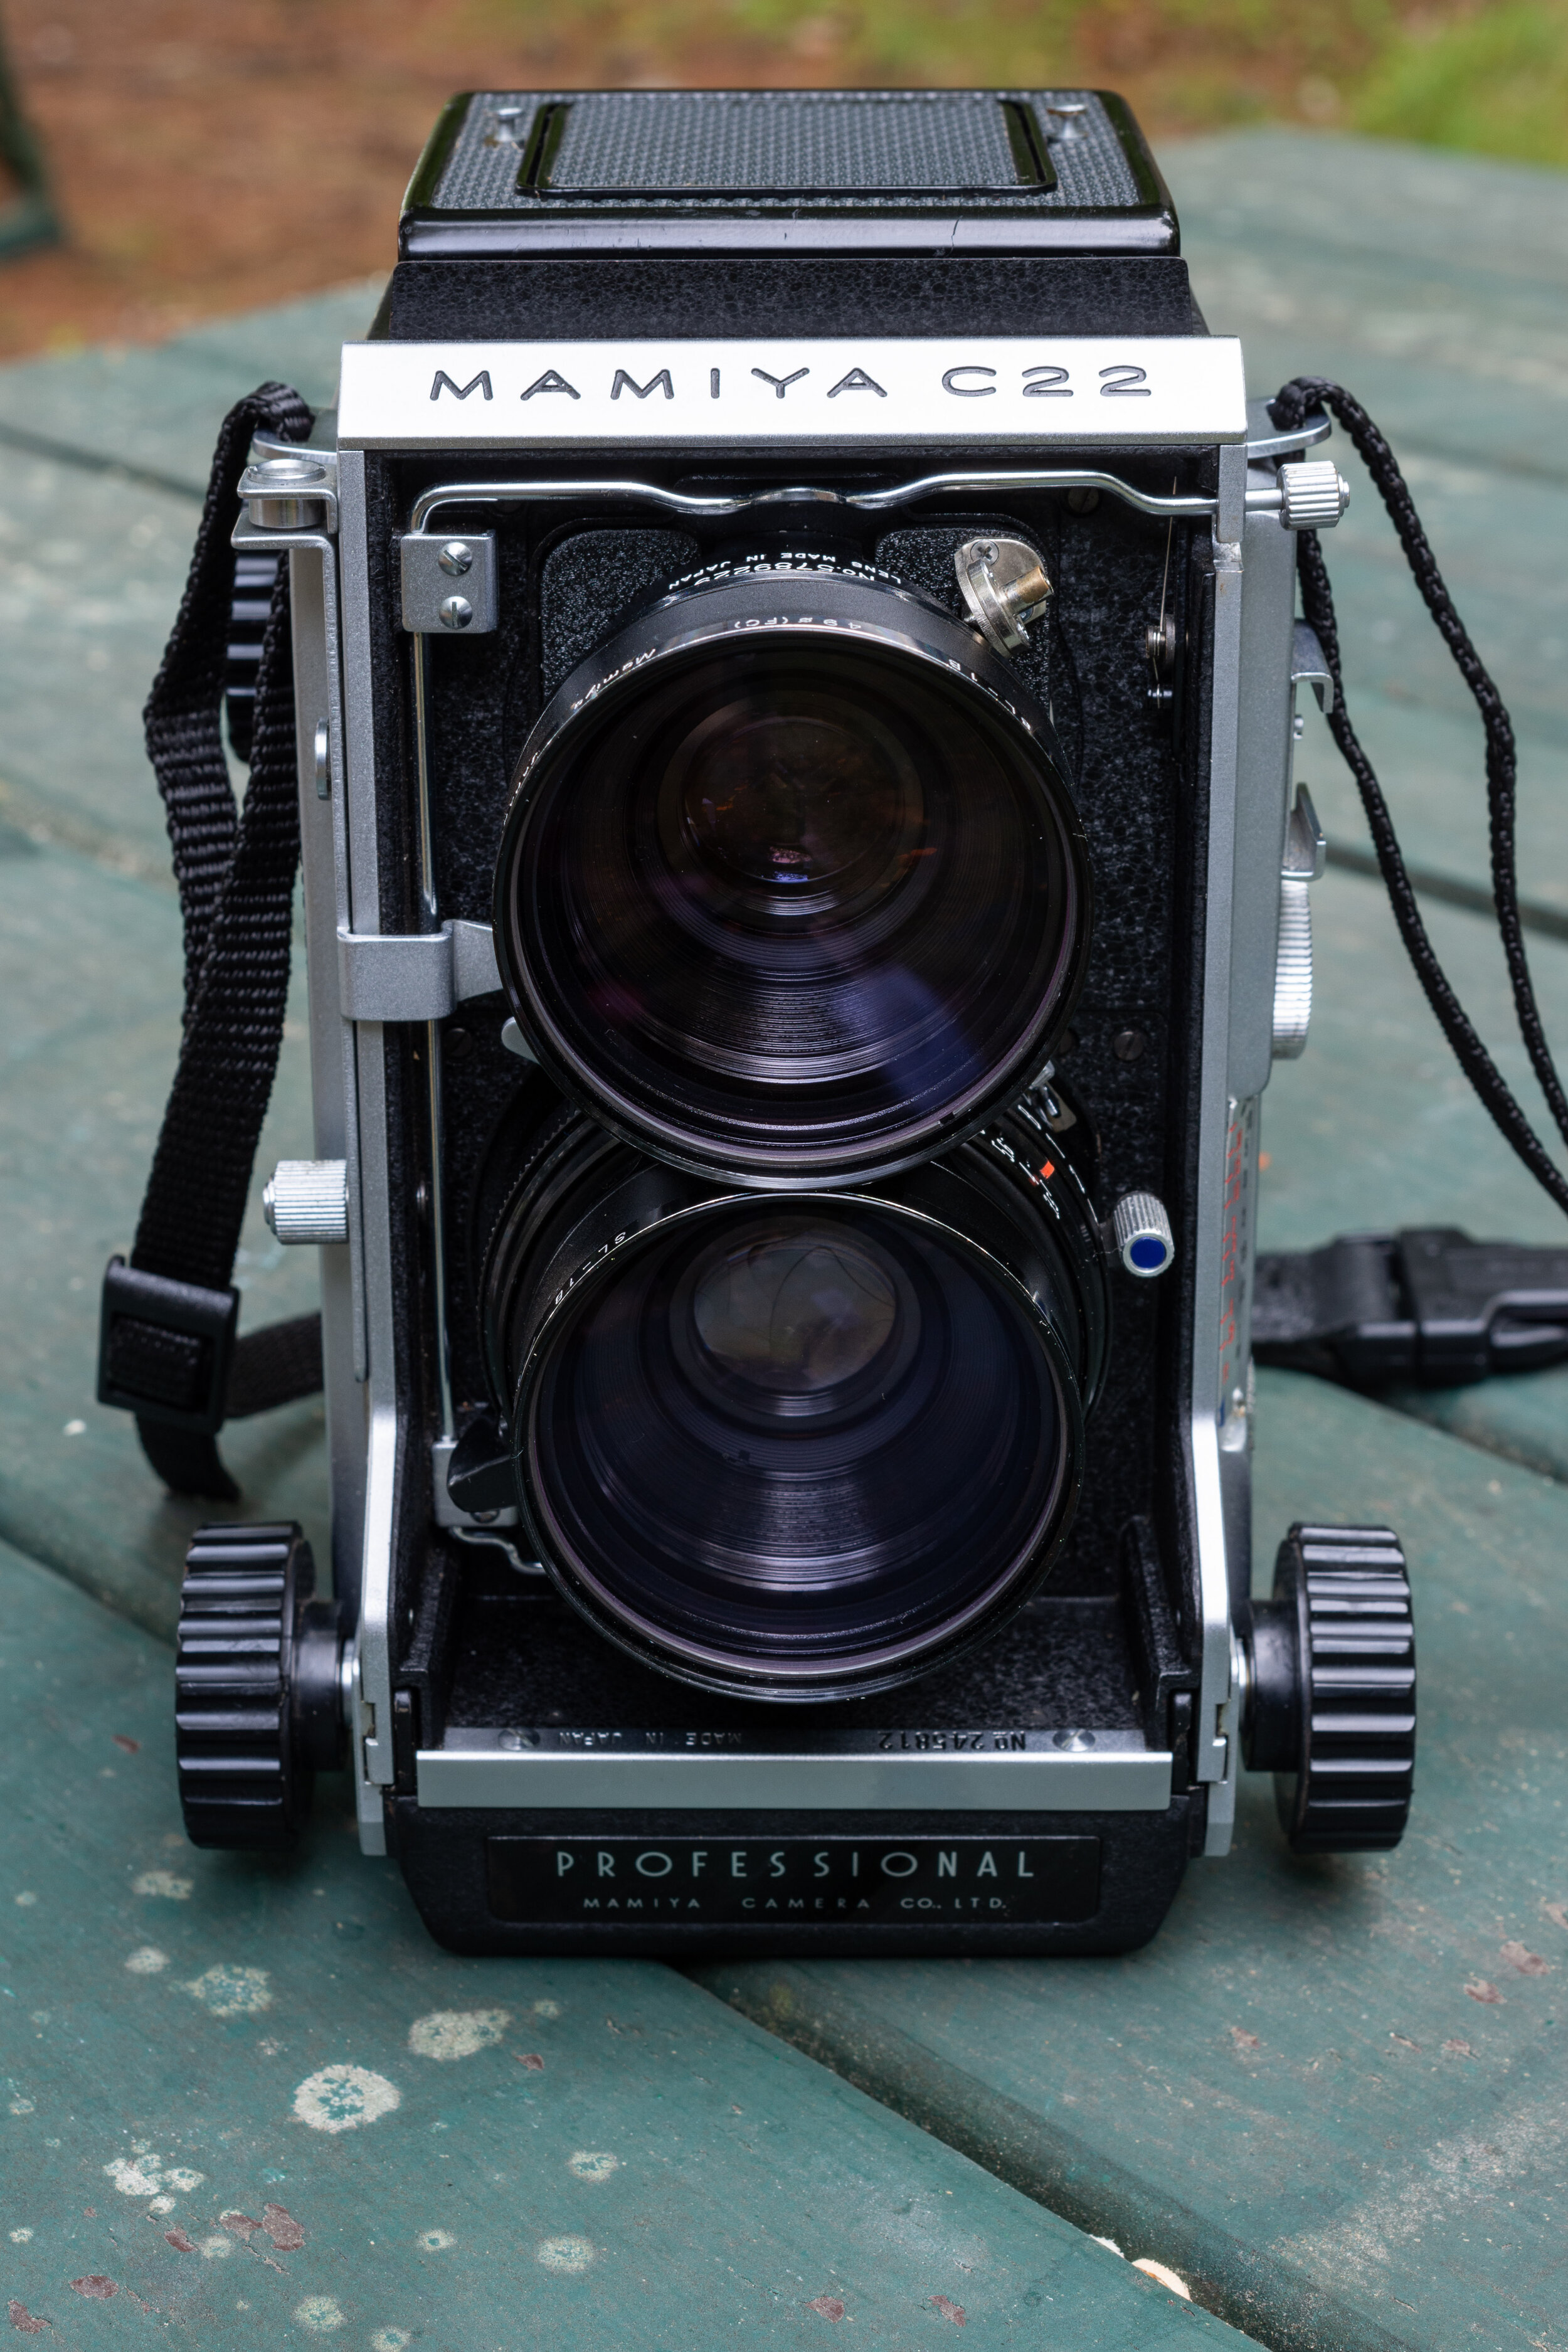
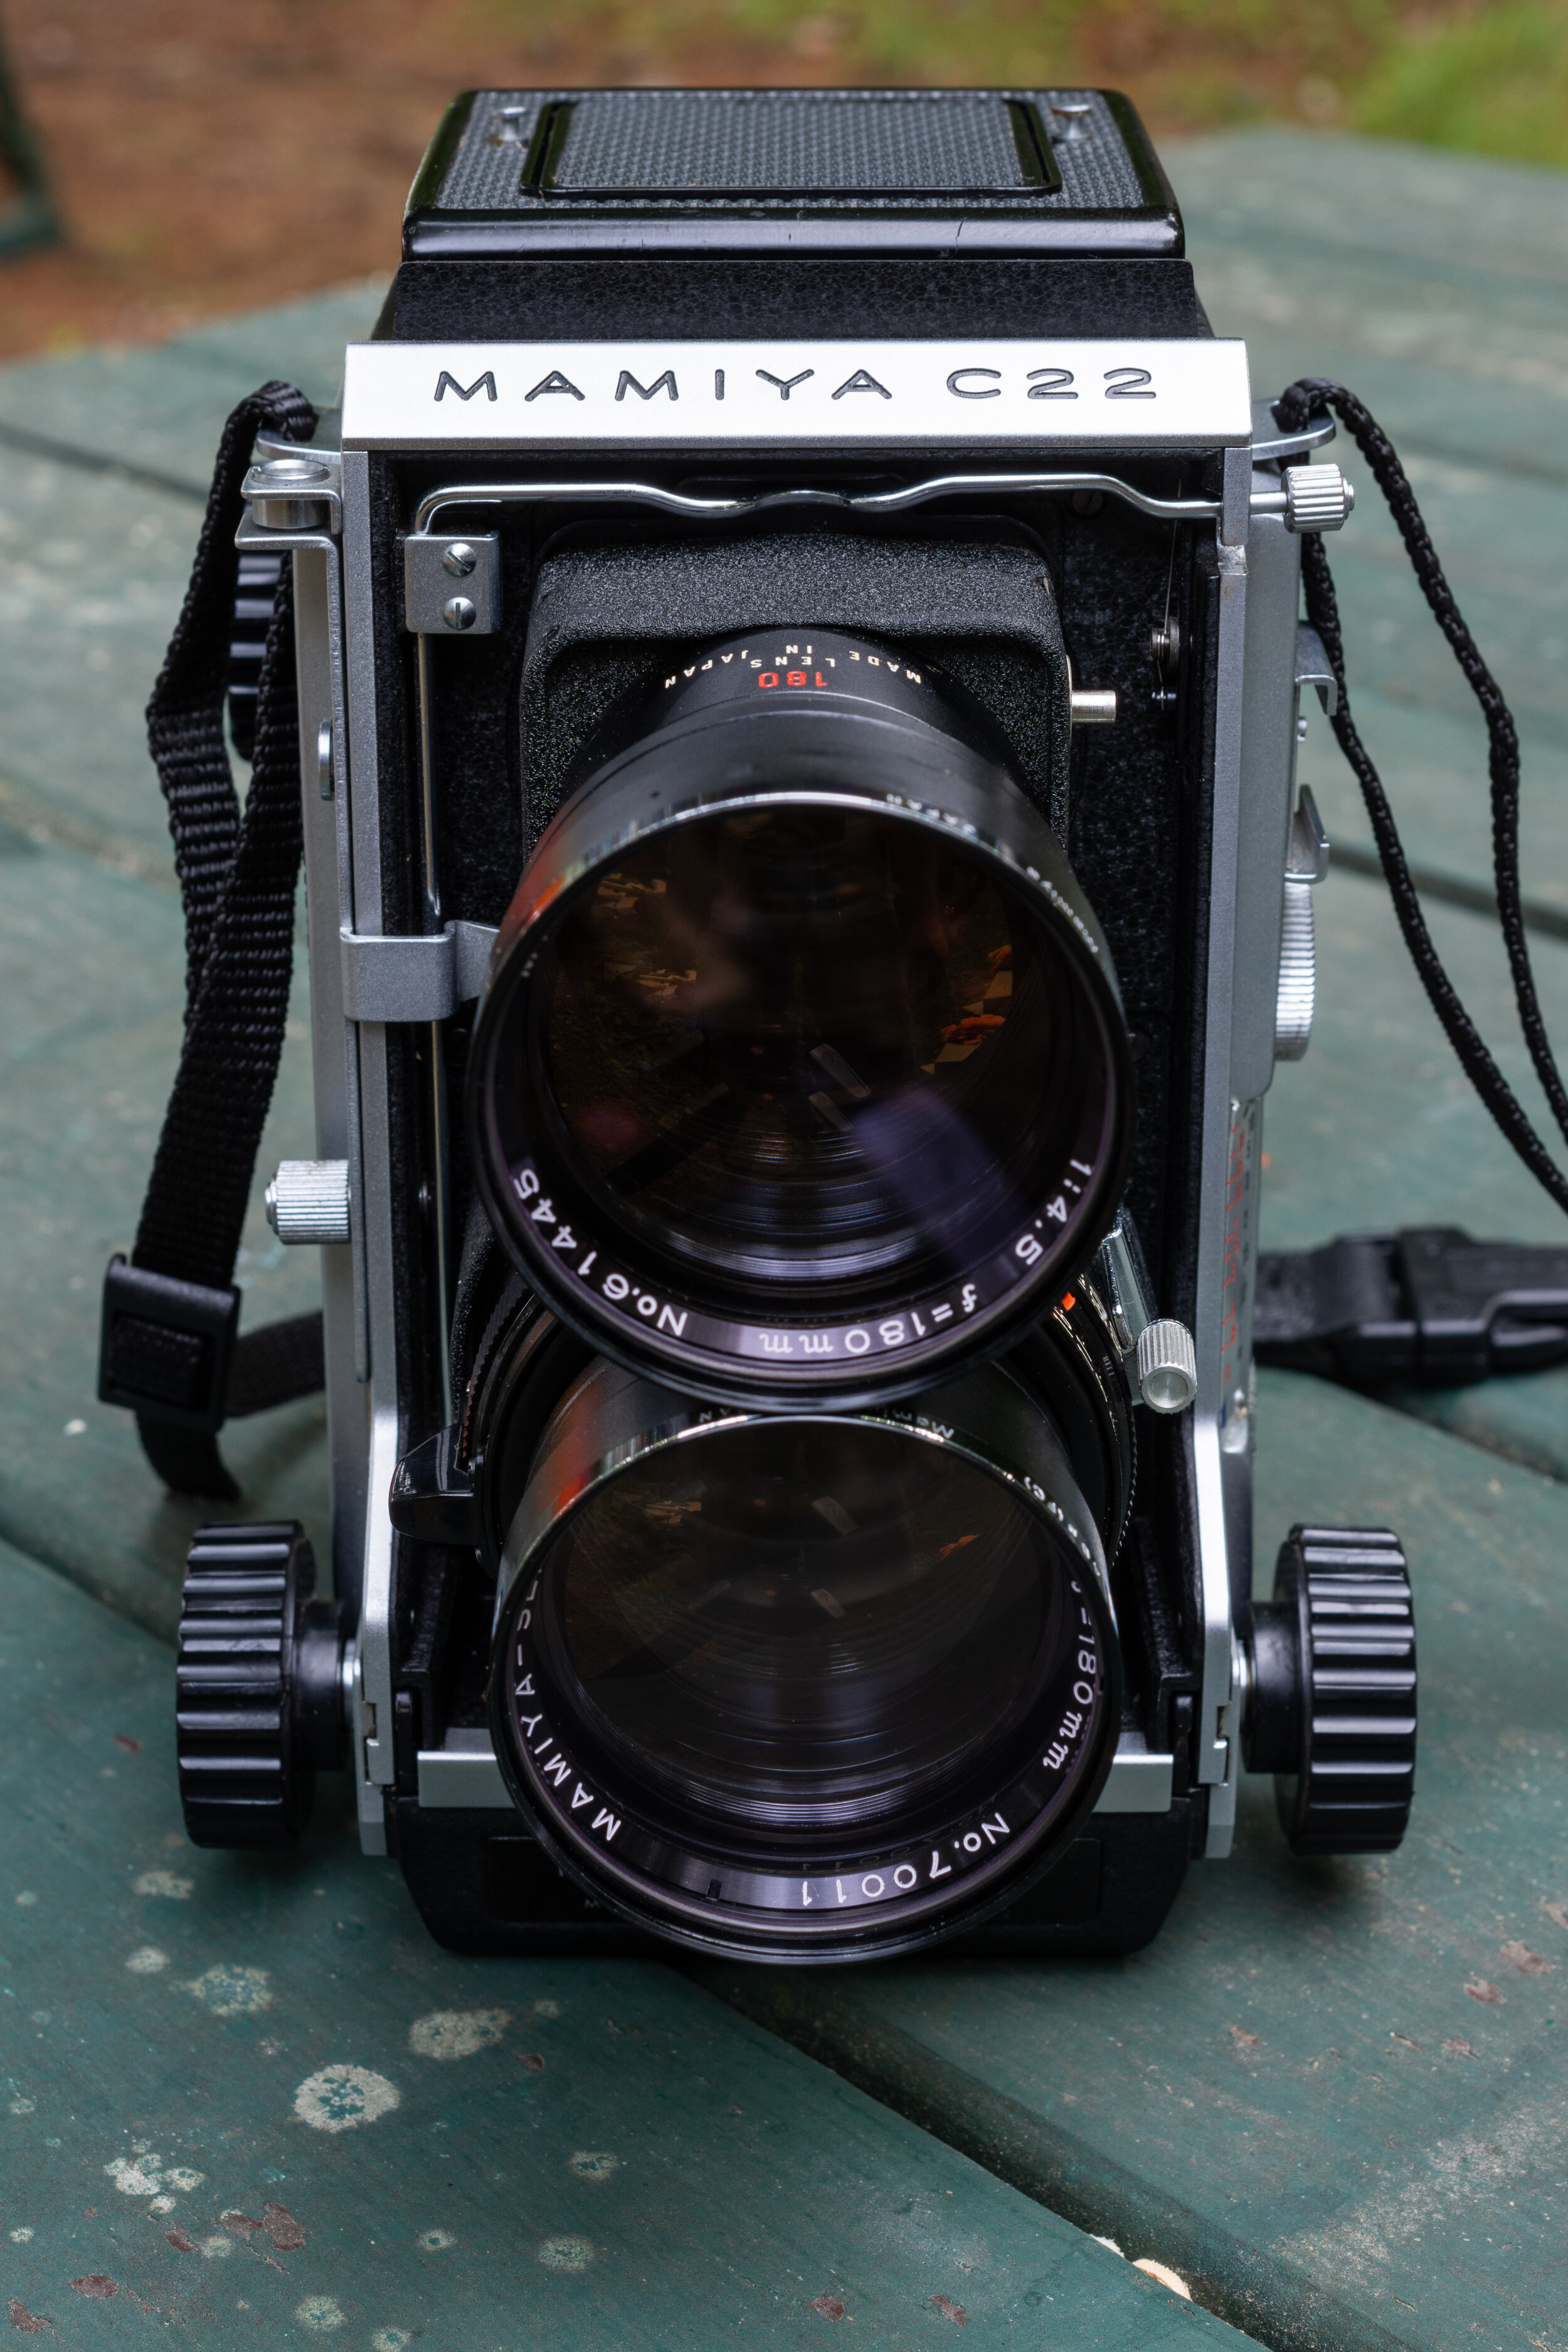
I shoot a combination of three lenses: the 80mm f/2.8, 65mm f/3.5, and 180mm f/4.5. The 80mm is the most versatile and can cover 80% of what I shoot. The 65mm is a good wide angle for those shots that are just a bit too tight for 80mm but it exhibits some vignetting on color film, which can be corrected in post. Mamiya did make an elusive 55mm lens, but I have yet to find one at a price point I’m comfortable with. I especially noticed the vignetting when shooting Ektachrome, where it showed up noticeably in the sky on a clear day. The 180mm is a beautiful and unique lens that looks almost comical when attached to the C22. It’s a beast of a telephoto lens that produces beautiful bokeh and is incredibly sharp. The 180mm is by far my favorite lens for the C22, but often requires a tripod because it’s very easy to get camera shake at shutter speeds less than 1/250th of a second when shooting handheld.
These lenses are built around Seiko shutters, which most repair shops won’t touch. Repair tutorials/manuals are also difficult to come by online. I had to rebuild the 80mm shutter myself because it became sticky and was difficult to cock. If you’re going to attempt a repair on these types of lenses, make sure you don’t over-tighten the interior lock ring when you put everything back together or the slow speed escapement won’t function correctly. After a few flushes of the shutter with contact cleaner and a touch of gun oil on the slow speed escapement, the shutter was back to working perfectly. Here’s a few tips I’ve picked up over the years if you’re planning on investing in the Mamiya TLR system:
Did you take a shot but can’t wind the film to the next frame? The Mamiya C22 has built in multiple exposure protection, and the film winding knob can lock up after you take a shot if you don’t completely follow thorough. This will require you to cock and fire the shutter again before the winding knob will release. Move yourself out of direct sunlight, put the lens cap back on, stop the shutter down to f/16, and set the shutter speed to 1/500 sec. This will reduce the chances of making an accidental double exposure while releasing the multiple exposure lock. Cock the shutter and take another shot, making sure to completely depress the shutter release lever. This should allow you to advance the film and keep shooting.
Is there dust between your lens elements? If so it’s an easy fix. Set the lens to maximum aperture and put the shutter on bulb (B). Cock the shutter, unscrew the front lens element, depress and hold the shutter release, and shoot a few bursts of canned air into the lens body. You can then reassemble the lens dust-free! Don’t overtighten the front lens element when you put it back together.
Is your viewfinder dirty? There’s a piece of protective glass over the focusing screen, so you can easily clean it by removing the WLF and wiping it down. If the dirt is between the focusing screen and protective glass cover, you can disassemble it and clean both. I’ve done this with my C22, and it’s not a difficult process though the task seems daunting. Be careful to retain the paper shims that will inevitably fall off when you remove the silver piece cover that holds the glass and focusing screen in place. These were added at the factory and are critical to maintain focus between the ground glass and film plane. Make sure to put them back when reassembling, otherwise your images will all be out of focus. After cleaning everything by hand with a bit of Dawn and some warm water (DO NOT use anything abrasive, just wash with your fingers), air dry the components and reassemble. Now your viewfinder should be as spot free as when it left the factory! Note that washing the focusing screen and protective glass cover won’t fix any etching damage that was caused by fungus.
Is there a chance you might bump your lens into something while walking around? Of course there is - don’t ask how I know. I’ve found the 80mm f/2.8 lens is pretty safe from bumps, but the 65mm f/3.5 and 180mm f/4.5 lenses are highly susceptible to dents and dings. It seems these lenses once came with protective retaining rings for the delicate threads, but they’re often missing on the second hand market. I was lucky enough to find some 49Ø Mamiya SL1-B skylight filters on eBay (the spacing between the looking and taking lenses is very tight and requires slim filters) to protect the threads. Even if you don’t normally put UV filters on your camera lenses, which I don’t, I’d recommend keeping one on just to protect the threads from damage.